Pressure Cooking

Pressure cooking 101

Start: Inspect and prep the pot

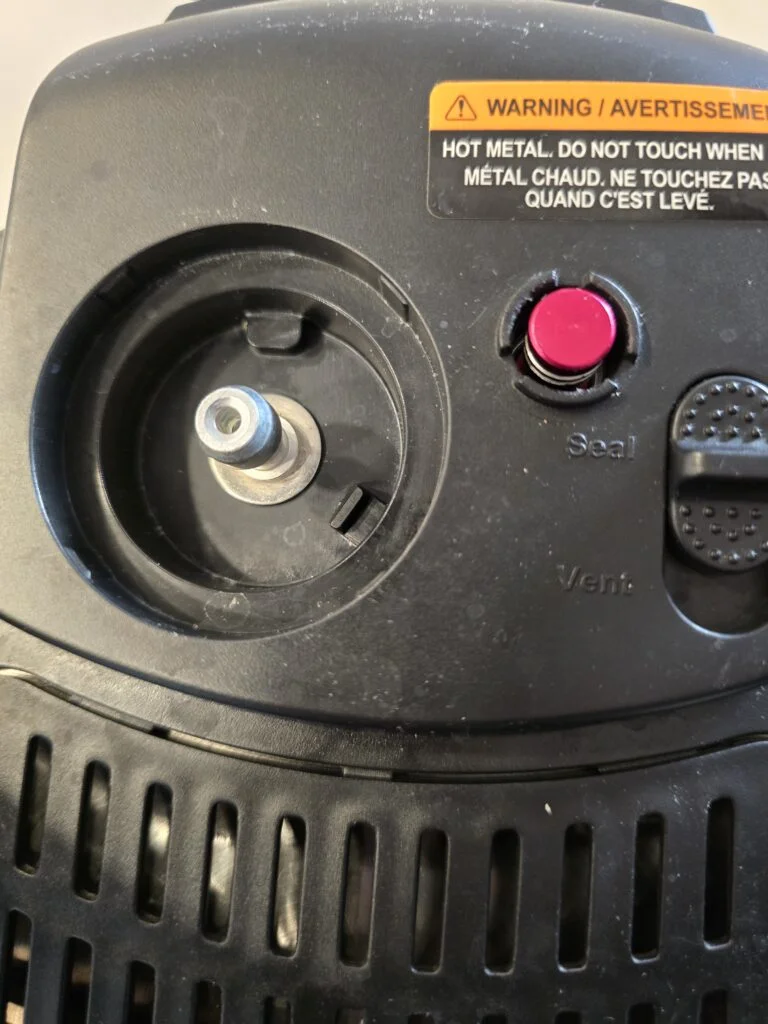
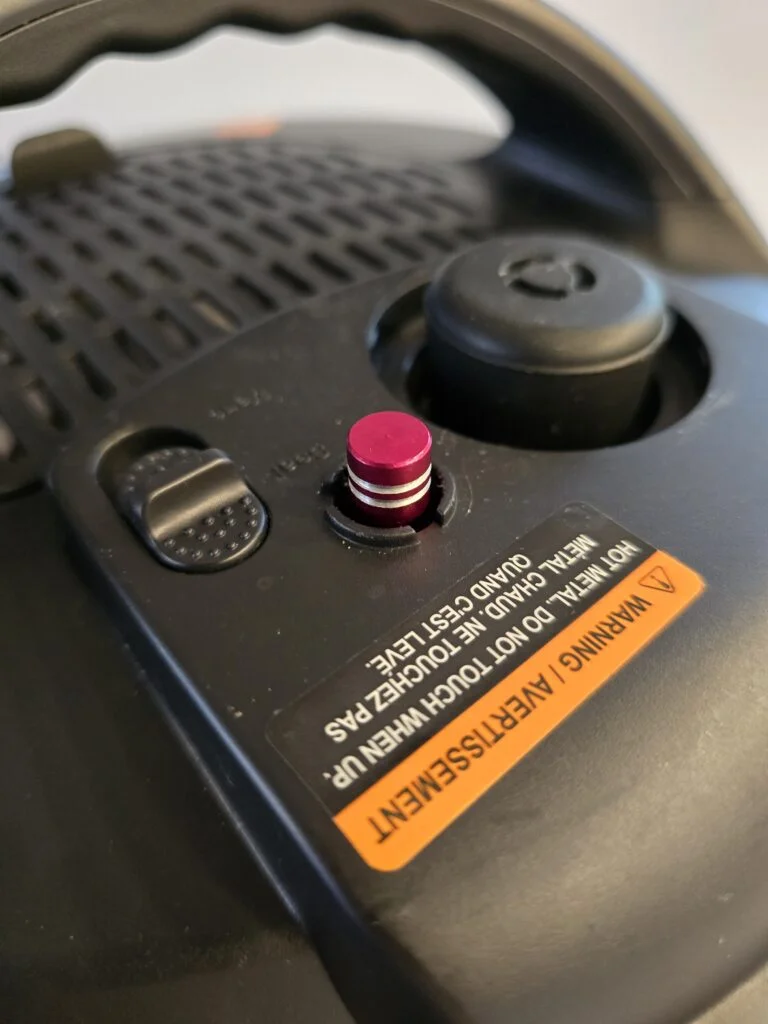
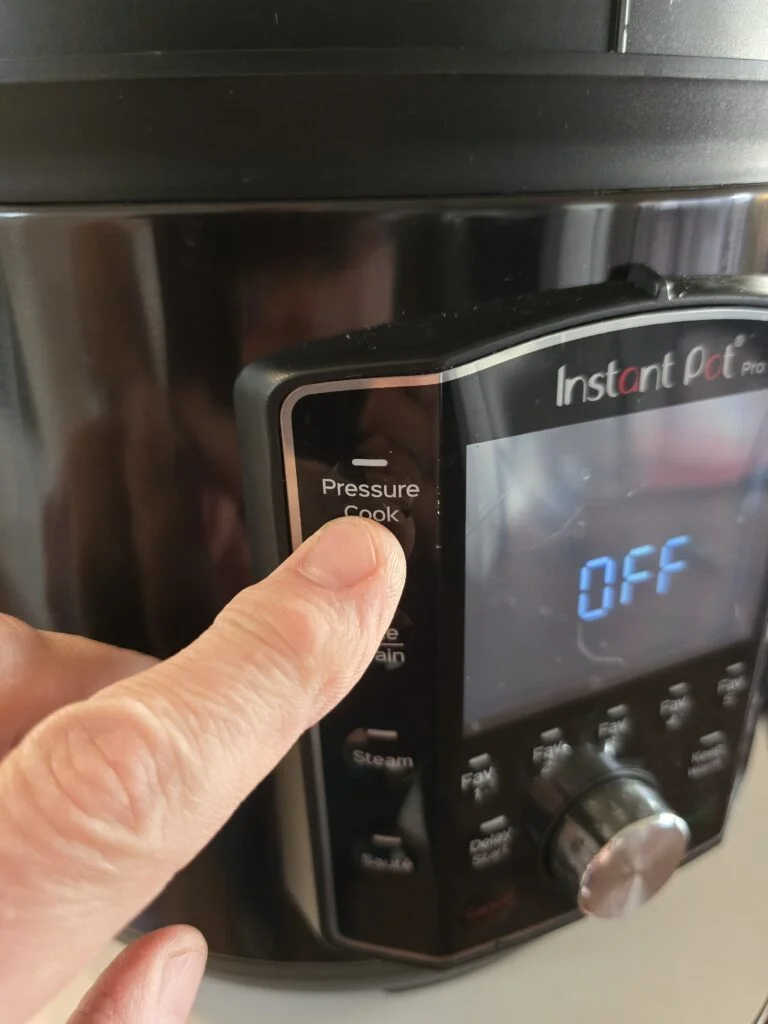
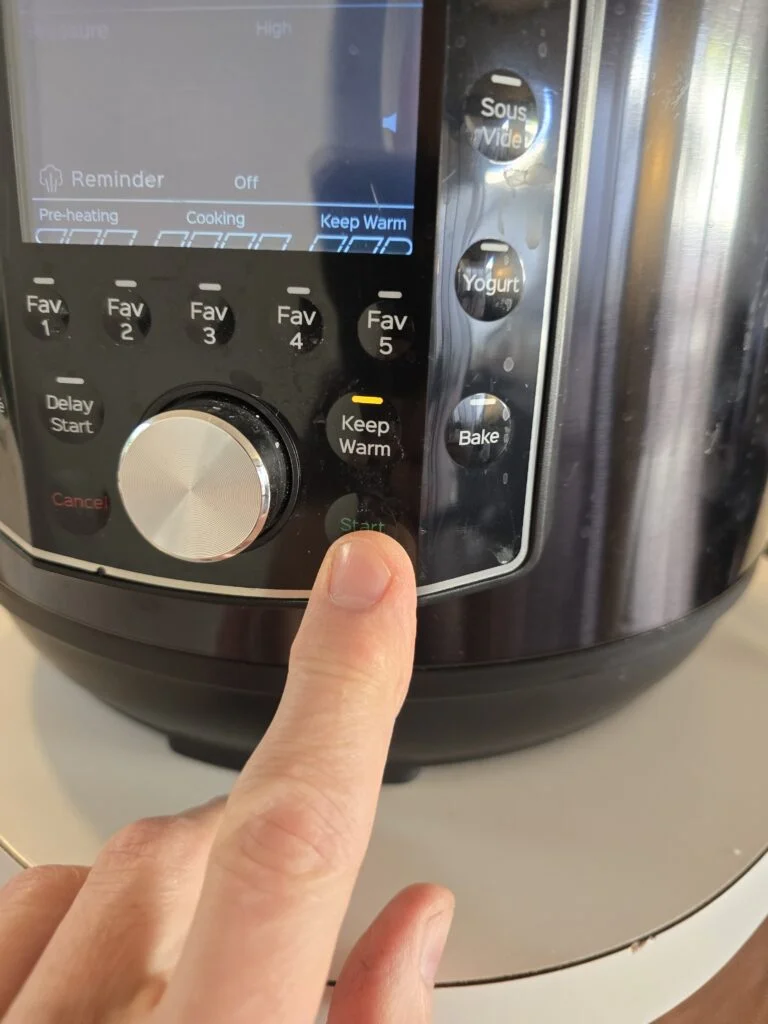
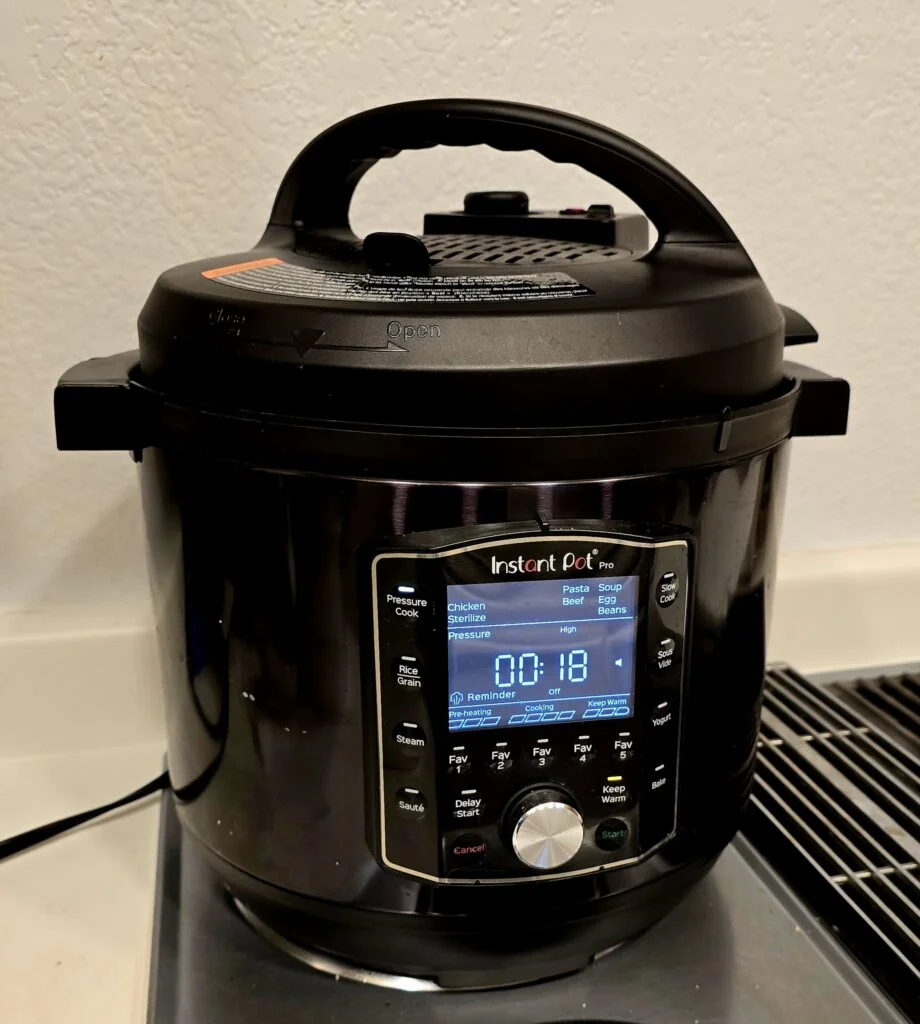
All pressure cookers work the same way. They use pressurized steam at temperatures above the boiling point of water. They have a locking lid with a seal, as well as a pressure relief valve and a float valve. Cooking times vary depending on the type of cooker, the amount of food, and its size. You will have to experiment with your cooker to determine the exact cooking times. If you follow the instructions and your food is not cooked properly, don’t assume you did something wrong. For example, I’ve seen recipes that call for cooking broccoli for nine minutes, but I know my cooker will overcook it in three minutes. Once you have timed it correctly, the results will be consistent. Keep in mind, though, that recipes are just a starting point.

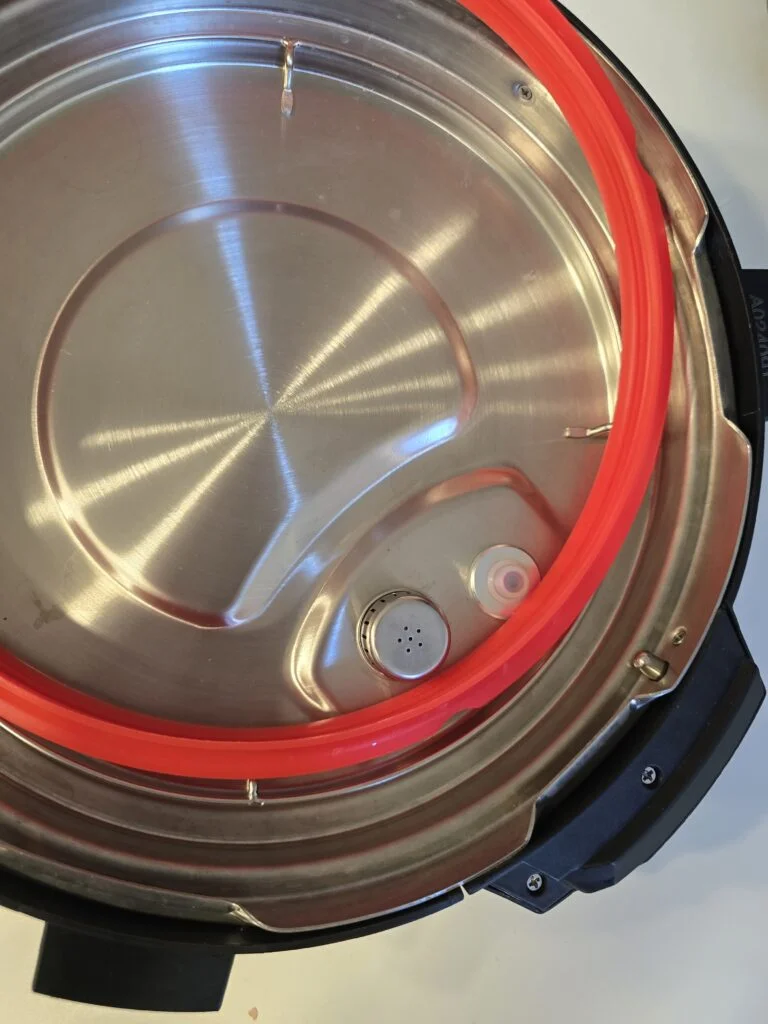
The lid has a replaceable silicone seal. The color is not important. For cleaning, remove the ring and correctly reinstall it before use. It fits behind a wire bead ring and slides in easily at first. The last part requires a good push to secure it properly. Be sure to check that it is seated properly all the way around, as it is easy to leave a small gap.
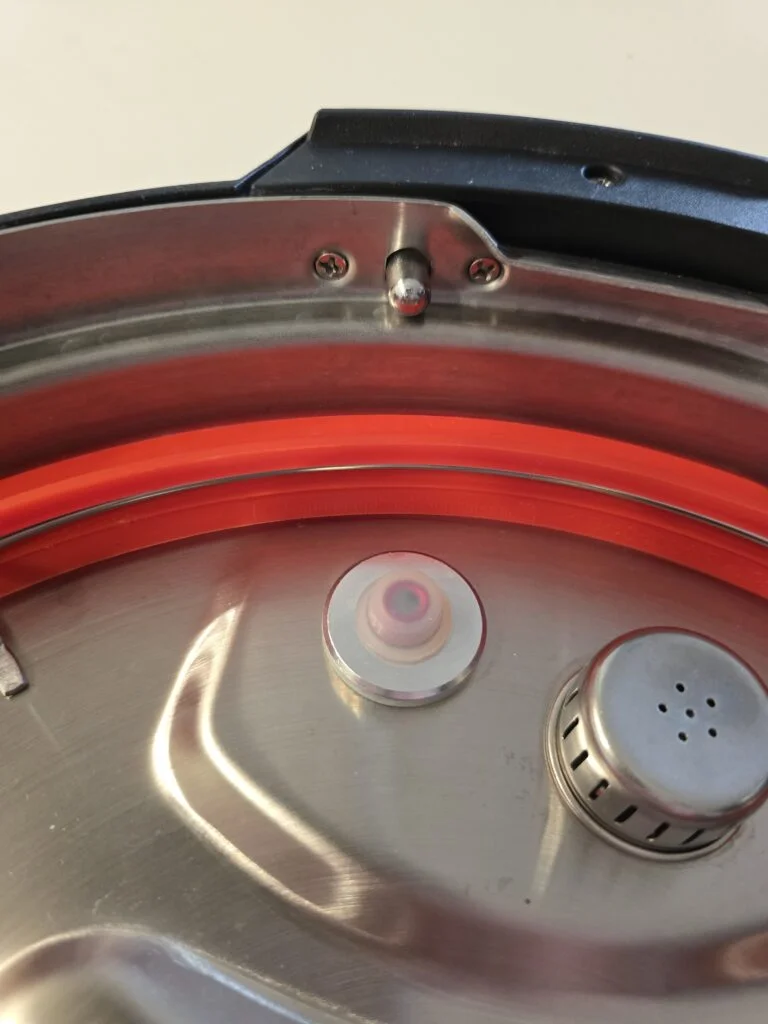
correct install

Lid with seal ring

incorrect seal install

Seal installed

Then, check that the float valve pushes up and falls back easily. The steam release valve should be clean and free of food particles. Ensure that the cap on the steam release valve is properly seated to allow pressure to build.

The float valve pops up when pressurized. This indicates that the lid is locked. Never try to open it when it is pressurized. When opening the steam cap, be careful of the extremely hot steam; it is hotter than boiling water.

Steam release, cap removed

Pressure up, lid locked, steam cap seated

#2) Add food

Now, you are ready to add the food. I prefer the silicone steamer basket. It’s easier to clean than metal ones, but it can be harder to remove odors from certain foods, like Brussels sprouts.

#3) Add water to the pot

Add the water. You can pour it directly over the food. The 6-quart models use one cup, while the 8-quart models use between one and a half and two cups. Don’t forget the water! The unit needs this water to make steam. If you forget, the unit will either stop with a “burn” warning or fail to pressurize.

Food in steamer

Pressure cook mode

Start button

Natural vs Rapid decompression

Depending on the recipe, some will tell you to vent right away after the timer goes off, while others will tell you to wait 10 or 15 minutes for natural decompression. For example, basmati rice requires six minutes of cooking and rapid decompression.

Open Carefully

Remember that these units cook at temperatures much higher than boiling water and that the steam is extremely hot. Stay clear of the relief valve when opening it, and even after depressurizing, everything will be hot. The unit will lock and not allow you to open it until it has reached the proper pressure. If your lid won’t turn, there may still be pressure in it.

Time to Clean Up

Rinse the inside of the lid and the float valve area after every use. Ensure that they move freely. Remove and wash the silicone ring separately. Clean the stainless steel pot and ensure that it is shiny. All stainless steel cookware should be shiny and residue-free. If regular soap and water don’t make my pot shiny, I use Barkeeper’s Friend cleanser. I apply a small amount, scrub until it’s shiny, then wash it with soap and water to remove the cleanser.

Careful - Hot steam

Bar Keepers Friend