
Vacuum Sealing

Vacuum Sealing Tips
Although not as essential as a pressure cooker, a vacuum sealer is very convenient. While you can do sous vide without vacuum-sealed food, it’s less flexible. You can save money by buying food in bulk, separating it into portions, and packaging them. For instance, processed, packaged chicken breasts typically cost at least twice as much as a whole chicken, even from the same source. There are many YouTube videos demonstrating how to cut up a chicken or turkey. A vacuum sealer makes it easy to store these items in the freezer. With the sous vide cooking method, food goes straight from the freezer to the water bath. No defrosting is needed. Eliminate the expense of pre-cut meat and use the savings to pay for the vacuum sealer. The same applies to buying a whole roast versus individually cut steaks. For instance, grass-fed ribeye steak recently cost $25 per pound. The same ribeye roast cost $18 per pound. That’s a 28% savings on the same exact meat product! Many other roasts can be cut into steaks for similar savings.
Tip #1: Use more bag than you think you need. If your meat is four inches wide, use a bag that is at least six inches wide, starting at the seal line. The bag will be pulled into the meat during the vacuum process, so you need the extra material.
Tip #2: Fold the open edges back about an inch (2.5 cm) before putting the meat in the bag. This will keep the sealing area dry. Any liquid in the sealing area will disrupt the heating process and cause the seal to fail. If this happens, start over with a new bag.
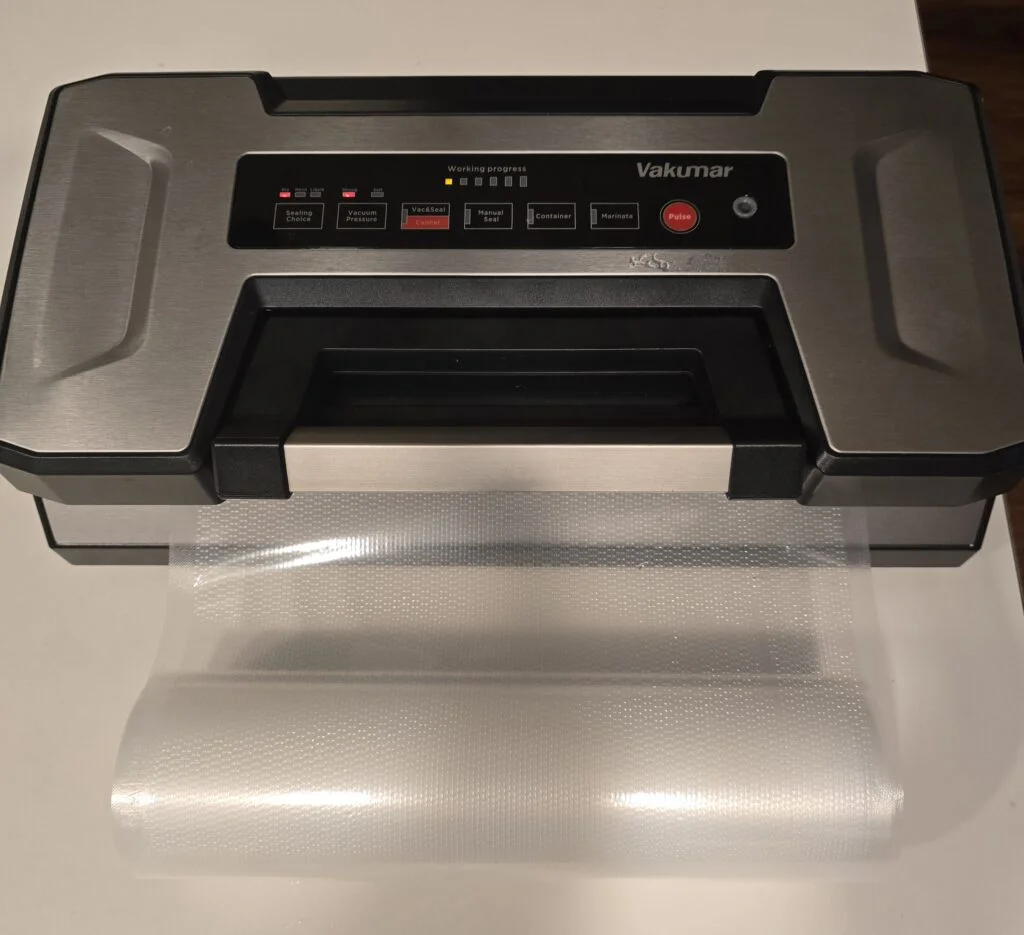
Tip #3: Before closing the lid, place the cut edge into the drip tray. This ensures that any liquid pulled up to the edge is caught in the drip tray instead of being pulled deeper into the machine. The drip tray is removable for cleaning. If the meat is wet, pat it dry with a paper towel before placing it in the bag. Most machines have a “moist” setting that is helpful for fresh meat.
Tip #4: Seals can fail. If you take the meat out of the freezer and the bag is loose, open it and transfer the meat to a new bag before cooking. Do not attempt to cook with a damaged seal.
Tip #5: The heat strip needs to cool down between uses. After sealing, open the lid fully to allow the strip to cool before sealing the next bag. If the strip gets too hot, it will seal before the vacuum can start. If this happens, discard the bag and start over with a fresh one once the strip has cooled off. Although it seems efficient to cut and bag all the pieces at once, it will not work because the strip will overheat. I usually make a couple of bags from the roll, then prepare some meat. Then, I make a couple more bags and seal one piece at a time. Remember that making a bag from the roll also requires a seal.
Tip #6: Precut bags are convenient. However, I find that they don’t fit many types of meat. It’s more efficient to buy an uncut roll and cut and seal bags as needed. To seal an end, place the bag in the machine and press the “seal” button instead of the “vacuum” button.
Tip #7: There are 11-inch and 8-inch uncut rolls available. I like having both sizes on hand for different cuts of meat. If you prefer only one size, I suggest the 11-inch width.
Tip #8: Don’t be afraid to put more than one piece of meat in the same bag. For example, I like to put both turkey wings in one bag. Leave a space between them, and keep them separate with your fingers while sealing. Any two meats with the same cooking time and temperature can be combined. If you always cook both drumsticks together, it makes sense to put them in one bag.
Tip #9: Help the vacuum system by squeezing out the air during the sealing process. This is especially useful for a brick of lamb chops. I squeeze them together during the sealing process to eliminate as much air as possible. Large cuts of meat, such as tri-tip roasts, can create small pockets in the bag. Press these out during vacuum sealing for a better fit.
Tip #10: Don’t try to seal meat with an air pocket, such as a whole chicken. Meats cook at different temperatures, and it’s difficult to fill the cavity properly. You can separate the “crown” of the chicken or turkey and cook it whole. It looks great, too!
Tip #11: You can stop the vacuum at any time by pressing the “Seal” button. This is necessary for soft meats, such as fresh fish. Start the vacuum and watch carefully. As soon as the air is removed and the liquid begins to flow toward the machine, press the “Seal” button.
Tip #12: Most machines do not have a cancel or stop button. Once the process starts, the machine will automatically vacuum, seal, and release when finished. If something seems wrong—for example, if the motor is running but the bag is not deflating—unlatch the cover to stop the machine. Check the bag for wrinkles or folds. Consider using a new bag.
