
Sous Vide Lamb Ribs
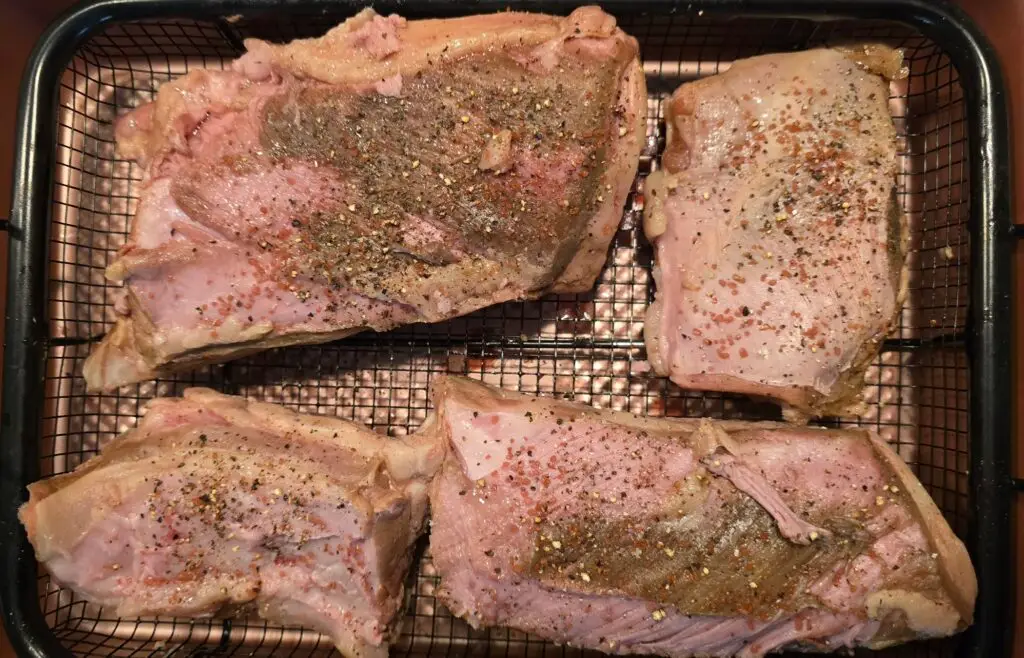
Baby back pork ribs may be the star of the show at barbecue joints around the country, but these lamb back ribs are just as flavorful and have an anti-inflammatory A2 protein. I recently started buying them at Walmart at a great price. First, cut the ribs in half for easier handling, then use your vacuum sealer. You can use fresh or frozen sealed ribs. Set your sous vide machine to 134°F (57°C). Cook for 18 hours. The cooking time is the same for fresh or frozen meat. Remove the ribs from the bag and dry-brine them with salt, pepper, and any other spices you like overnight. Then, finish cooking them in a smoker for about 20 minutes, in an air fryer for 8 minutes, or on a grill for 2–4 minutes per side.
Hatch Chili Ginger Turmeric Sauerkraut
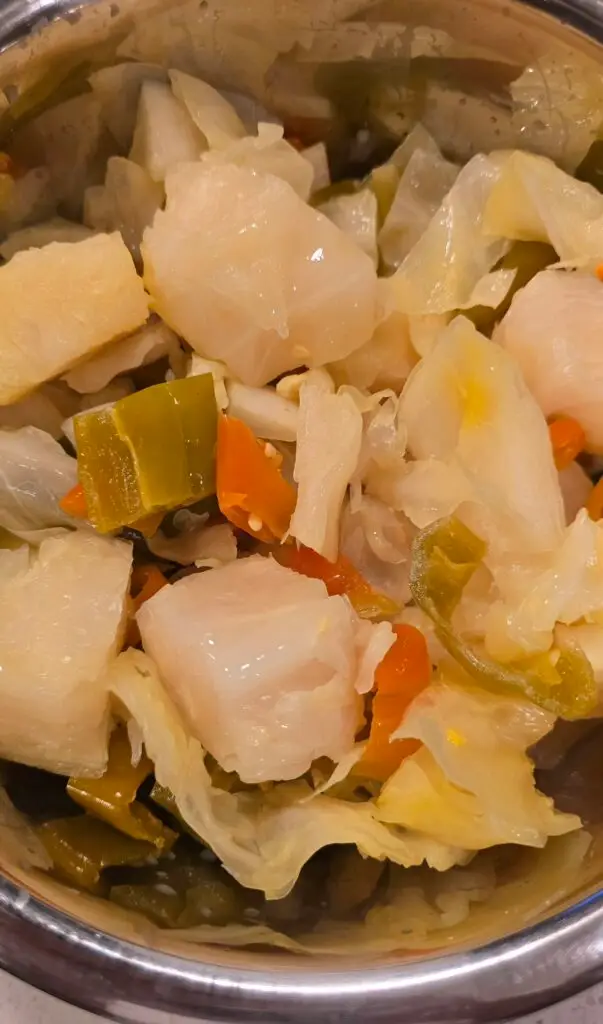
Ginger and turmeric sauerkraut Increase the heat! It’s the perfect time to add this flavor-packed hotty to your diet because it’s Hatch chili harvest every fall. In addition to the ginger and turmeric, the Hatch chiles add flavor and heat. The amount of heat is determined by how much of the white membrane inside, or pith, you add. Fermentation releases and activates the beneficial compounds in the turmeric. The ginger adds a tangy snap, and the chiles give depth and heat. Ingredients: Green or red cabbage, salt, water Start by weighing your cabbage in grams. A pour-over coffee scale works great for this, and you can also use it to make coffee. A 1.5-liter (about 50-ounce) jar holds one kilogram (2.2 pounds) of cabbage. A two-liter jar can hold 1.5 kg (3 lb) of cabbage. Five large, fresh Hatch chili peppers with or without pith. No seeds. One inch of very thinly sliced, peeled ginger and turmeric root. If you can find quality organic roots, then peeling is not necessary; just gently wash and scrub them. Reserve a couple of outer leaves and chop the rest, stem and all. The degree of fineness or chunkiness is totally up to you. There is no wrong way. Place them in a large bowl. Add the ginger and turmeric. Now, add 2% of the cabbage’s weight in clean salt, such as Diamond brand. Do not use iodized salt or poor-quality salt, such as the famous “M” brand, as it contains caking agents. For example, if your cabbage weighs 1 kg (1,000 g), then use 20 g of salt. Anything in the 2-3% range is fine, and it does not have to be precise. More is not better; stay within the 2-3% range. Sprinkle the salt on the cabbage and massage it in with clean hands. Pack it into a jar and press down as you add it to minimize air pockets. Place one or two whole leaves, trimmed to fit the jar, on top. Add a glass weight or another type of weight. Now, fill the jar with clean filtered or spring water. Do not use tap water, as it contains chlorine and other contaminants. Make sure the water level is above the cabbage. Seal the jar with either a bubbler or by placing the lid on top without force. Gas will be produced and needs a way to escape. Let it sit at room temperature, out of direct sunlight. I prefer a 10-day fermentation, but there are no rules. Start tasting it after day three, and then refrigerate it when it reaches the desired flavor. I wouldn’t let it sit with plain cabbage for more than two weeks, as it can get soggy.
Instant Pot Lamb Rogan Josh (Indian curry)
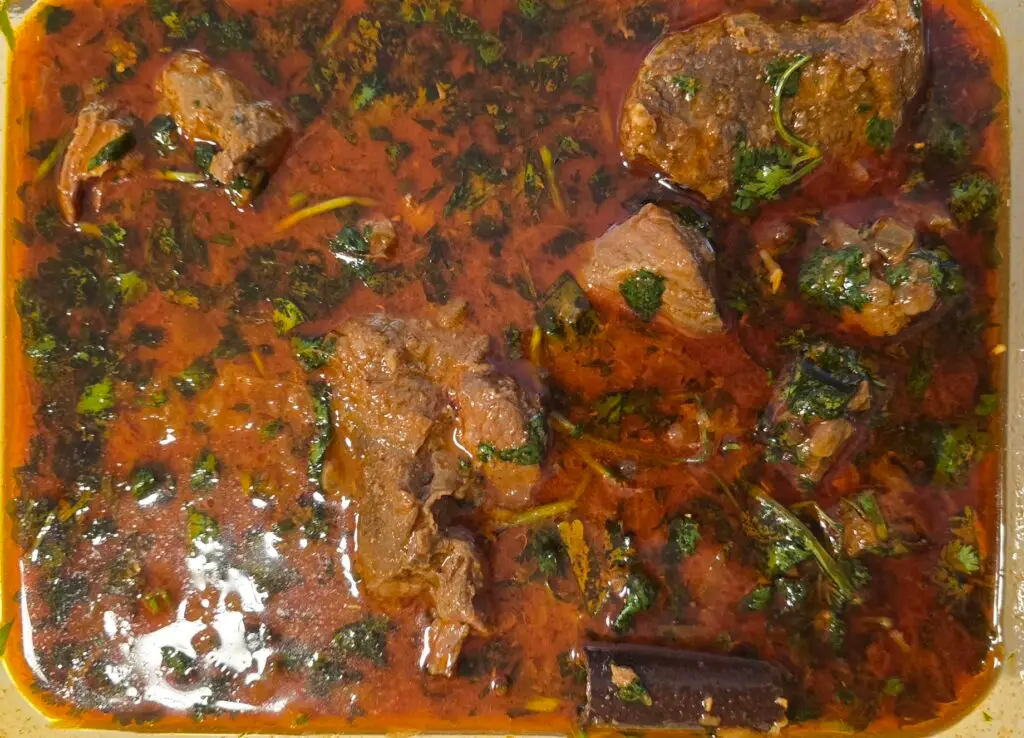
Indian-style food is particularly well suited to the Instant Pot. This recipe is just as easy as the lamb vindaloo, but uses a different combination of spices. Cinnamon and cloves are key flavours in rogan josh. It can also be made with other meats, but the cooking time would need to be adjusted accordingly. This is the lamb version because Costco has recently sold boneless leg of lamb at a great price. I buy a 5 lb package, cut it into large pieces and then separate it into two 2 lb portions. Then I vacuum seal them and freeze them until I’m ready to make the dish. You will need 3 tablespoons of ghee (clarified butter). Alternatively, you can start with 4 tablespoons of regular butter, boiling off the water and adding the onions just as the butter starts to turn brown. 1 whole cinnamon stick Five green cardamom pods (if you have them; otherwise, skip). 7 whole cloves 2 medium onions, chopped 2 inches of fresh ginger, finely grated 2 cloves of garlic (optional) Spices: 3 teaspoons of coriander powder 3 teaspoons of cumin powder 3 teaspoons of Kashmiri chilli powder 1 tablespoon of paprika 1 teaspoon black pepper 2 teaspoons of kosher salt 2 pounds (1 kg) of lamb, cut into large pieces. Don’t make them bite-sized or they will overcook and become tough. 1/2 cup water 1/4–1/2 cup kefir or unflavoured yoghurt 1/4 cup finely chopped coriander Start the Instant Pot on Sauté mode. Add ghee. Add the cinnamon, cardamom and cloves to the hot oil. Wait until fragrant. Add the chopped onion, grated ginger and garlic. Add the salt. Sauté until the onions are light brown. Cancel the sauté mode. Add the spices: coriander, cumin, chilli, paprika and black pepper. Stir in well. If needed, deglaze the bottom with a little water. Make sure that all the food stuck to the bottom has been removed, otherwise you will get a burn error and the pot will turn off. Use a metal spatula to add a small amount of water and scrape the bottom of the pot while it bubbles and boils. Make sure the entire bottom is bare steel. Add the 1/2 cup of water and the meat. Pressure cook on high for 18 minutes. Leave to decompress naturally for 15 minutes, then release the remaining pressure. Transfer the meat to the final container. Select Sauté mode again and boil the liquid down to your desired thickness. Turn off the pot and leave to cool. When the mixture is warm or cooler, add the kefir or yoghurt to achieve the desired consistency. Pour the sauce over the meat. Enjoy! Reheat in an oven-safe container in the air fryer using the “bake” setting.
Fermented Hot Sauce
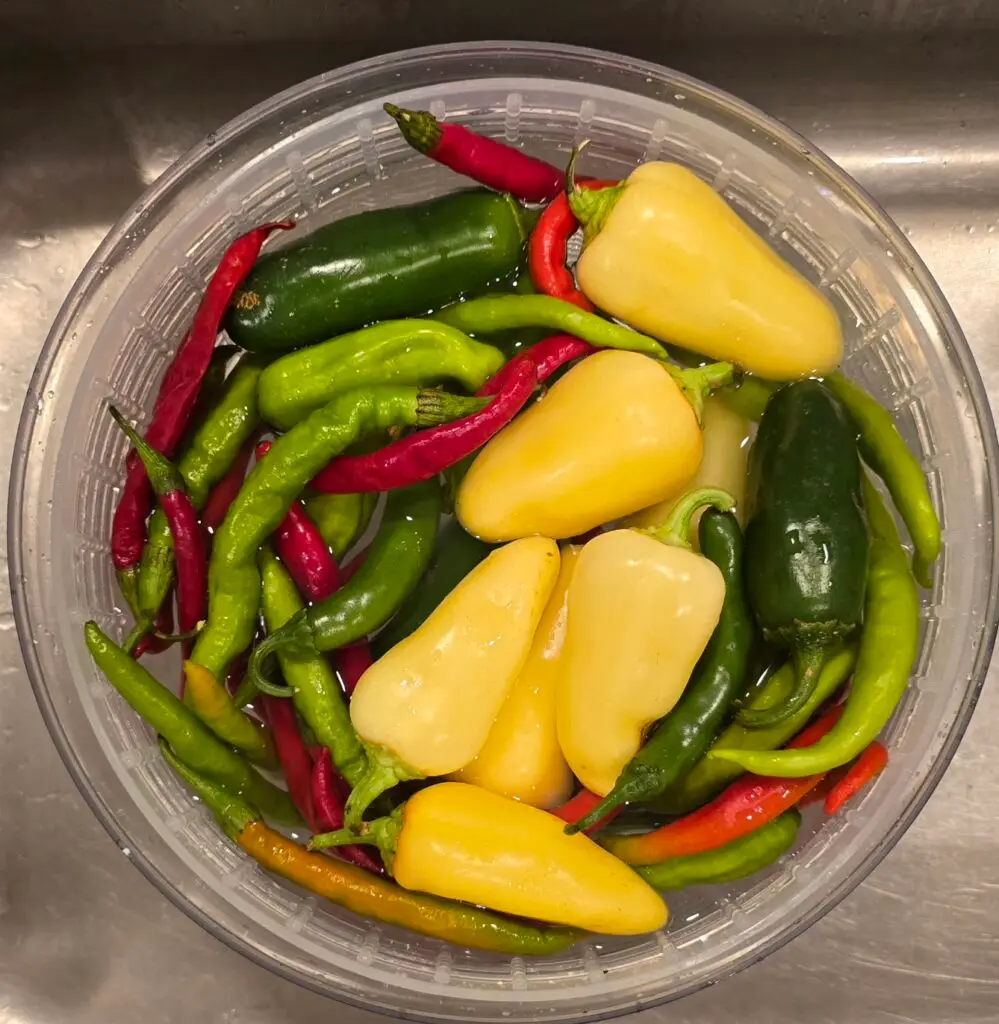
Commercial hot sauce usually contains raw peppers and vinegar, as well as other chemicals and additives. While it may taste good, it has no nutritional value and the added sugars and raw pepper lectins likely contribute to poor metabolism. Enter fermentation! By using our standard salt brine and leaving it on the counter for a couple of weeks, we can create a delicious, nutritious probiotic hot sauce! I use organic or farmers’ market peppers, giving them a quick wash with baking soda. Cut off the stems and slice them in half. You can leave the seeds and pith — the white, spongy material that holds the seeds — in, or remove them. The pith contains the most heat. The spiciness of your sauce depends on how much pith you include. The seeds have little heat. Weigh and salt the peppers at two or three percent by weight. Let them sweat. Optional: Add garlic cloves, but be careful as garlic intensifies with fermentation. Optional extras: raw ginger slices and garlic cloves. Optional: raw turmeric slices. Optional: raw honey – not the processed stuff you find in shops! Use whatever sounds good to you! This is your hot sauce. Have fun! Cover them with a 2% salt brine and leave to ferment for 2–3 weeks or longer. Once they have reached the desired level of sourness, strain them into a bowl. Using a blender, start blending and add as much brine as you wish. The amount you add will determine how thick or thin your sauce is. Store in the refrigerator and enjoy.
Fermented Onions
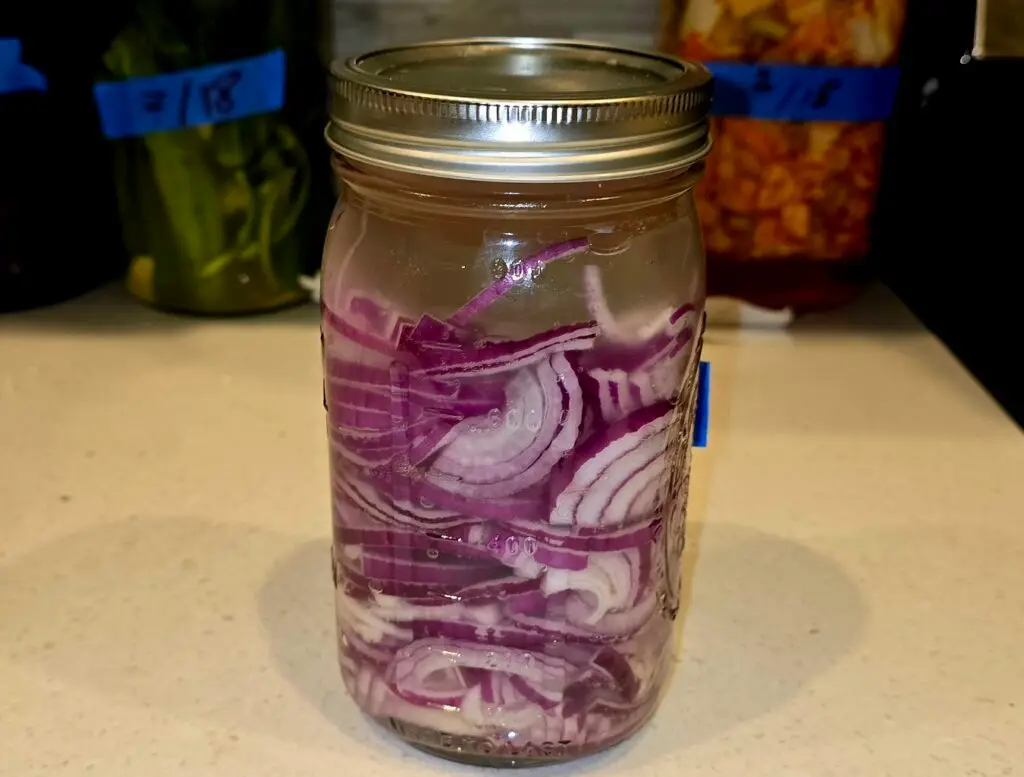
Onions are a fantastic source of nutritional compounds. Fermenting them enhances their nutritional value while mellowing their flavor. Slice them up. Stuff them into a jar. Cover them with a 2-3% salt brine made with filtered or spring water and quality salt without iodine. Ferment for one to three weeks, then enjoy!
Fermented Carrots
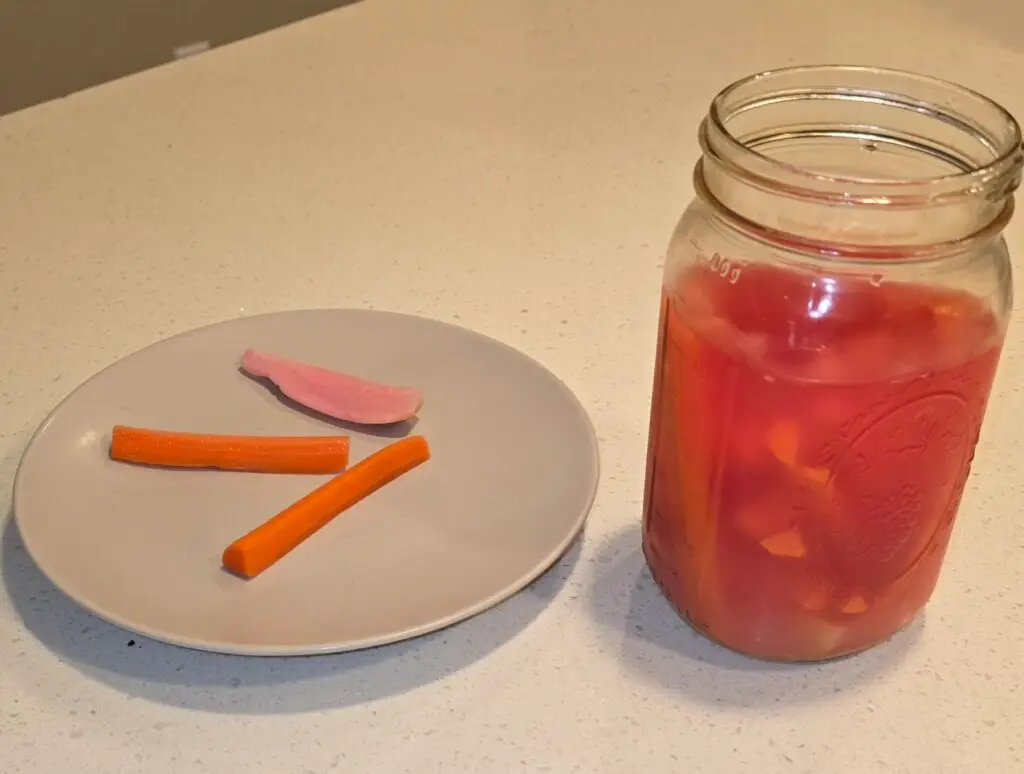
Carrots are crunchy, but they can lack flavor. Their nutrients are locked inside and not easily accessible to us humans. Fermentation changes all that. Slice the carrots however you like. Stuff them into a jar, cover them with a 2-3% brine, and let them sit for seven to ten days. You will be rewarded with crunchy carrots that are tasty with a sweet/sour kick. Add sliced ginger for an extra kick. The photo here shows carrots with a purple Japanese radish that I found at the market.
Beet Kvass
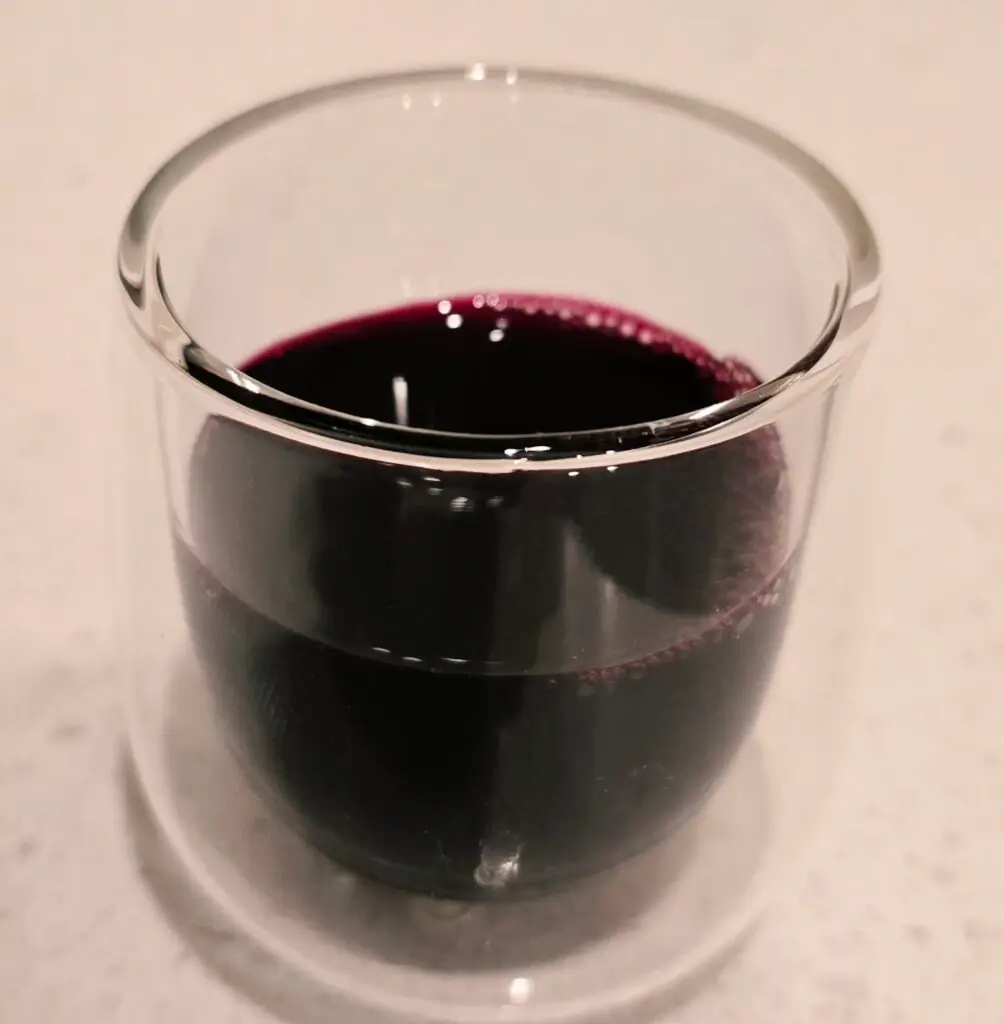
Kvass is a fermented drink traditionally made from sprouted grains or old bread. Using beets creates a nutritious probiotic drink that can improve your health in ways supplements cannot. There are two popular versions: sugar-based and salt-based. This recipe is a slight combination of the two, but there are almost no rules, so feel free to adjust it however you like. Just keep the amounts of salt, beets, and water similar. The sugar-based version is more like a natural soda, while the salt-based version is a more nutritious drink. Peel or Don’t Peel? If you have organic beets then just wash and scrub under running water. If you don’t have organic beets then peel them to reduce the pesticide load. You might prefer the flavor profile of one over the other so make it both ways and decide. Two large beets will fill a 32 oz (about 1 liter) jar. Chop into irregular little cubes. We want spaces for the brine to circulate. Place into your fermentation jar. Optional: cloves of crushed garlic. Optional: slices of raw ginger. Optional: one tablespoon of raw honey or sugar. Optional: almost any spice you like, dried. Make the brine. Use about 24 oz (700 mL) of filtered or spring water. Do not use tap water. Add 2% salt to the water (14 grams). Dissolve it well. Place a fermentation weight over the beets and pour the brine over them until they are completely submerged. Cover with a loose lid or fermentation lock, and let sit at room temperature for 5 to 10 days. If this is your first time trying this recipe, taste it daily using a clean spoon. Once your drink has reached the desired flavor profile, strain out the beets and refrigerate it. The beets are also edible. Enjoy a shot or two every day! Na zdrowie (pronounced nah ZDROH-vyeh) – to health!
Fermented Lemons
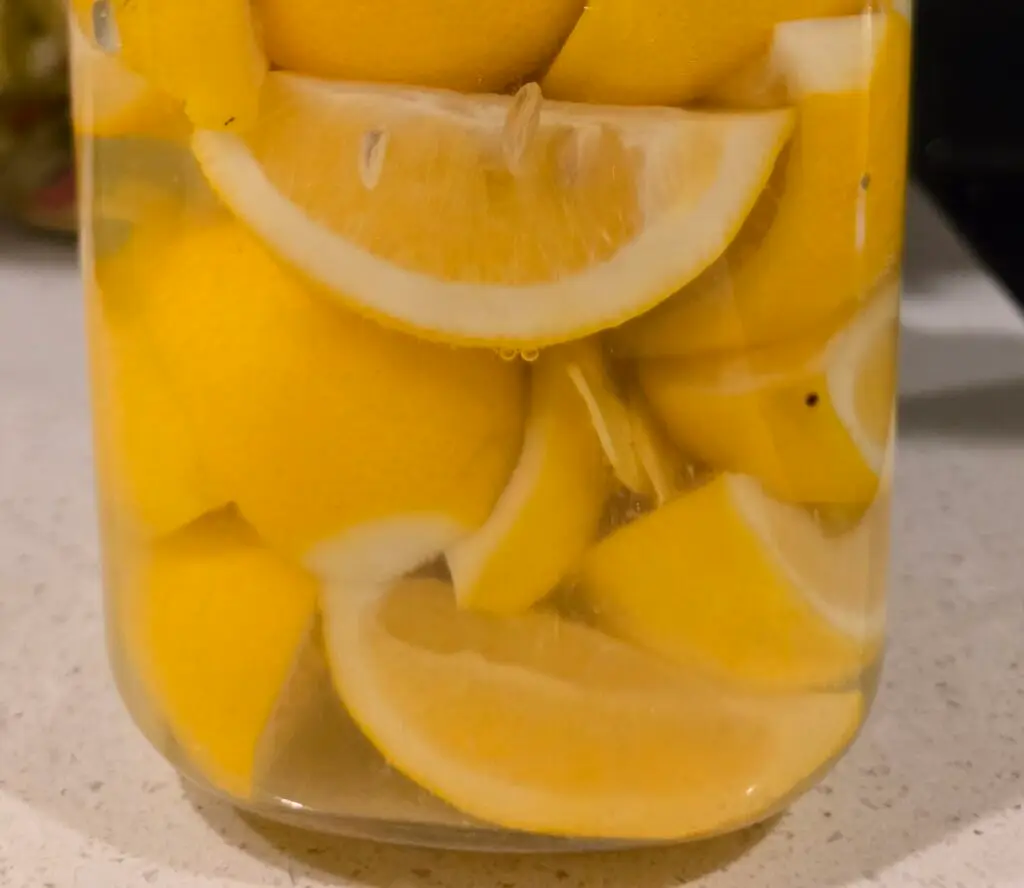
When life gives you lemons, ferment them! They’re a tangy and nutritious addition to food. I use them in all recipes that call for lemon juice and even eat them on their own. Start with organic and/or farmer market lemons if you can. The amount depends on your fermentation container and you’ll need to figure that out your first time. Weigh your empty container. Slice the lemons into quarters, either leaving them attached at the base or not. Place them in your fermentation jar and gently press them down. Be gentle; we’re not trying to make lemon juice. Weigh the container again, then subtract the empty weight to find the weight of the lemons. Calculate 2-3% salt by the weight of the lemons, then add the salt to the lemons. Fill the jar with purified water, close the lid, and shake gently. Repack the lemons so that they sit under the water, then add a fermentation weight. Add enough water so that it is about an inch above the lemons. Attach the airlock, or use your preferred method, and let the jar sit for three to four weeks. When finished, do not drain the brine. Use the lemons and brine in place of lemon juice. At this stage, they can be eaten peel and all. Probiotic guacamole? Yes! Substitute a quarter lemon and brine for straight lemon juice.
Kafta – Indian Style
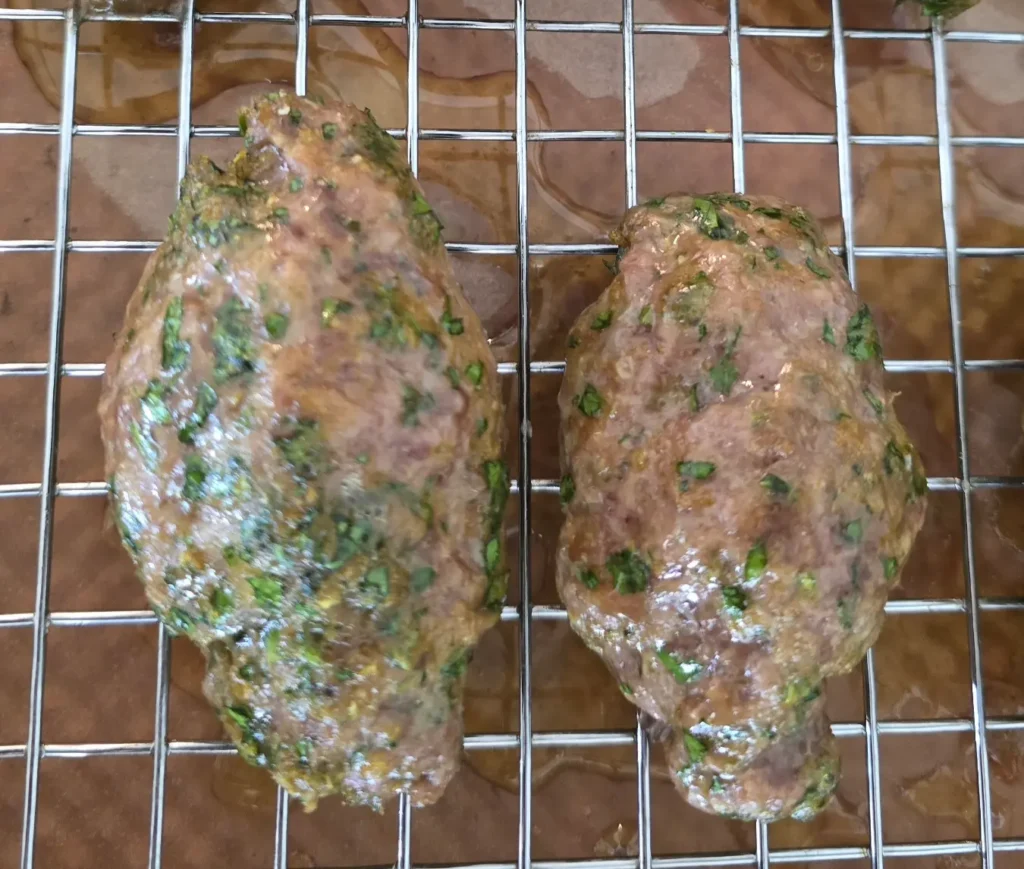
This is a variation on the more traditional flavor. It’s the same, but with a different combination of spices. This easy to make and and easy to eat protein reheats perfectly in the air fryer. Ingredients: 2-2.5lb (1 Kg) of ground meat (beef, lamb, bison, elk etc) 1 whole bunch Italian parsley, rough or fine chopped optional: fine chopped whites of green onion (scallion) 1/2 cup Pork Rind Panko 2 teaspoons ground cumin 2 teaspoons ground coriander 1 teaspoon ground turmeric 1 teaspoon salt 1 teaspoon onion powder ground pepper optional (and fun) 1 teaspoon Scotch Bonnet or other dried pepper Preheat the oven to 375°F (190°C). Mix everything together by hand. Try not to overmix. The goal is to spread the flavors throughout without mashing the meat. Form small, sausage-sized logs, like fat little cigars. You can put a wooden skewer through them or not. Place them on a wire cooling rack inside a baking pan that has been lined with parchment paper. This allows air to circulate and catches the dripping fat. Do not place them directly on the pan; otherwise, they will not cook properly on the bottom. Bake for 20 minutes in the upper region of the oven. Remove them from the oven and turn the oven off. If you prefer a browner crust, place them back in the oven on the top rack. Set the oven to broil and cook for four minutes. Done! You can eat them plain, add mustard, wrap them in a lettuce leaf, or break them up and put them in your salad. There are so many ways to enjoy kafta! Refrigerate your leftovers and reheat them in an air fryer for three to four minutes for a quick protein-packed meal.
Radicchio and Bok Choy ferment
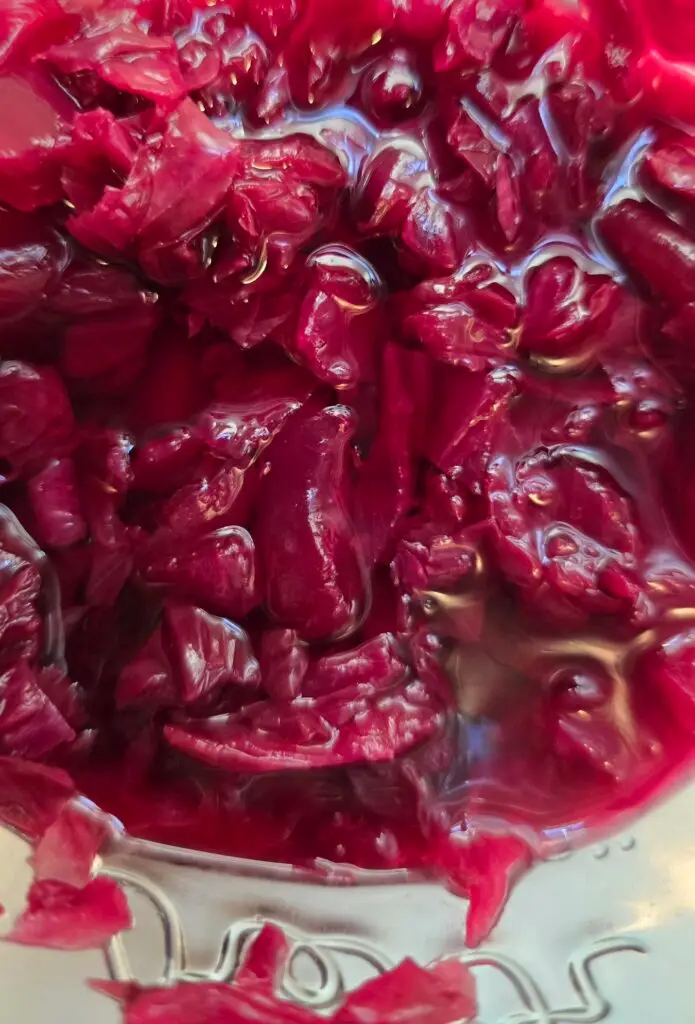
One of my favorite combinations is radicchio lettuce and bok choy stems. Radicchio belongs to the chicory family, while bok choy belongs to the mustard family (along with Chinese and Napa cabbage, broccoli, Brussels sprouts, and kale). I usually mix two heads of radicchio with two bunches of bok choy, which makes about 1.5 kg of vegetables. You will need to adjust the amounts based on your container size, but try to keep the ratio about 1:1. The radicchio is tart and bitter when raw, but it creates complex, wine-like flavors after fermentation. Another fascinating feature is watching the deep purple color spread through the brine. Bok Choy (not baby) two bunches. Trim the green leaves and use in a salad. Radicchio lettuce two bunches. Chop into whatever size you wish, including the stem. Sliced raw ginger – optional but delicious Green onions – chopped including roots. Optional. Iodine free salt such as Diamond or Celtic. I’ve had fails with Baja Gold. Water – chlorine free. You can use spring water, distilled water, purified etc but not tap water. City water has chlorine among other things that will ruin your ferment. Weigh all the vegetables in grams. Multiply by 0.02 to get 2%. For example 1000g would use at least 20 grams salt but not more than 50 grams (2-5%). Reserve a couple outer radicchio leaves for later. Chop the remainder anyway you wish and place into a large bowl. Sprinkle the salt and massage it in. Add ginger and any other flavor you wish. Pack into your container, pressing down. Cover with the whole radicchio leaves. Add a glass weight or other nonmetal weight to the top. You might need extra brine so mix up a 2% solution and pour in until you have about an inch above the weight. Top off with a gas release or top loosely and put on the shelf or counter out of the sun. Ferment for three to four weeks, then transfer to the refrigerator. The next day, empty the contents into a large bowl, mix it up, and store it in any airtight container you like. In theory, it could stay fresh in the refrigerator for three to four months, but it won’t last that long.