
Ginger Turmeric Sauerkraut
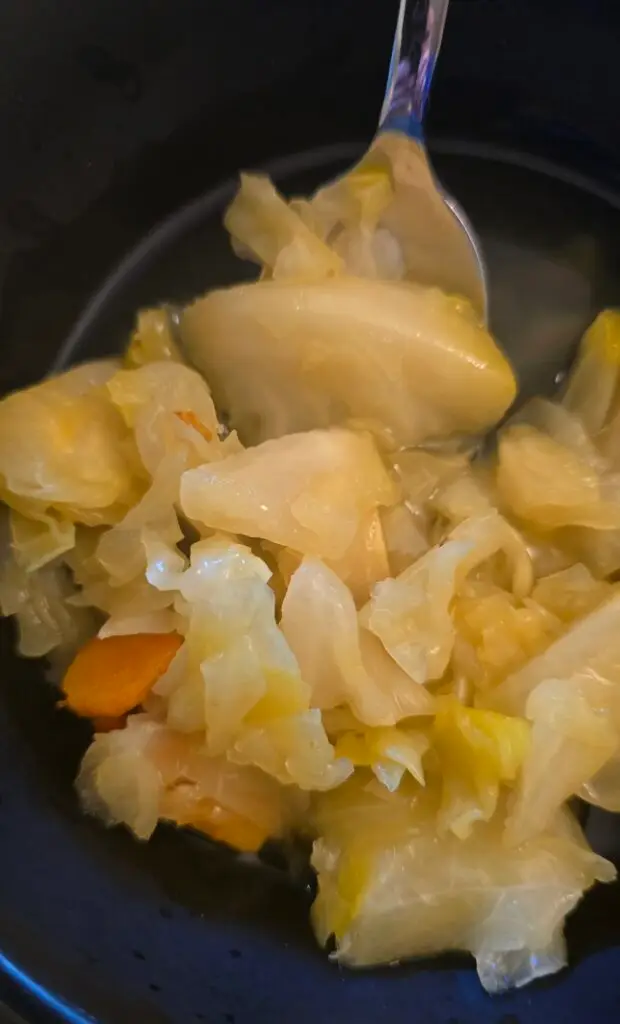
Take your basic kraut to the next level by adding thin slices of fresh ginger and turmeric root. This will enhance the flavor and nutritional profile. Careful though, turmeric will stain many things. The fermentation releases and activates the beneficial compounds in the turmeric while the ginger adds a tangy snap. Ingredients: Green or red cabbage head, Salt, Water Start by weighing your cabbage in grams. A pour-over coffee scale works great for this and as a bonus you can use it to make coffee also. A 1.5 Liter jar (about 50 oz) holds one Kg (2.2 lb) of cabbage. A 2 Liter jar (64 oz) can hold 1.5 Kg (3lb) of cabbage. One inch very thin sliced peeled ginger and turmeric root. If you can find quality organic roots then peeling is not needed, just a gentle wash and scrub. Reserve a couple outer leaves and chop the rest, stem and all. How fine or chunky is totally your call. There is no wrong way. Place in a large bowl. Add the ginger and turmeric. Now take 2% of the cabbage weight in a clean salt such as Diamond. Do not use iodized or poor quality salt (the famous “M” brand) as it has caking agents. For example if your cabbage was 1 Kg (1000g) then use 20g of salt. Anything in the 2 to 3% range is fine and it does not have to be precise. More is not better, stay with 2-3% range. Sprinkle the salt on the cabbage and give it a massage with your clean hands. Pack into a jar, press down as you add to keep the air pockets to a minimum. Place a whole leaf or two, trimmed to fit the jar, on top. Add the glass weight or some other weight. Now fill with clean filtered or spring water. Do not use tapwater as it has chlorine and other contaminants. Make sure there is water above the cabbage. Seal the jar either with a bubbler on top or just place the lid on top without force. Gas will be produced and needs a way to release. Let it sit at room temperature, out of sunlight. I prefer a 10 day ferment but there are no rules. Start tasting it anything after day 3 and refrigerate when it reaches the desired flavor. I wouldn’t go more than two weeks with plain cabbage as it can get soggy.
Lamb Kafta, tallow fried eggs, sweet potato air fries, avocado
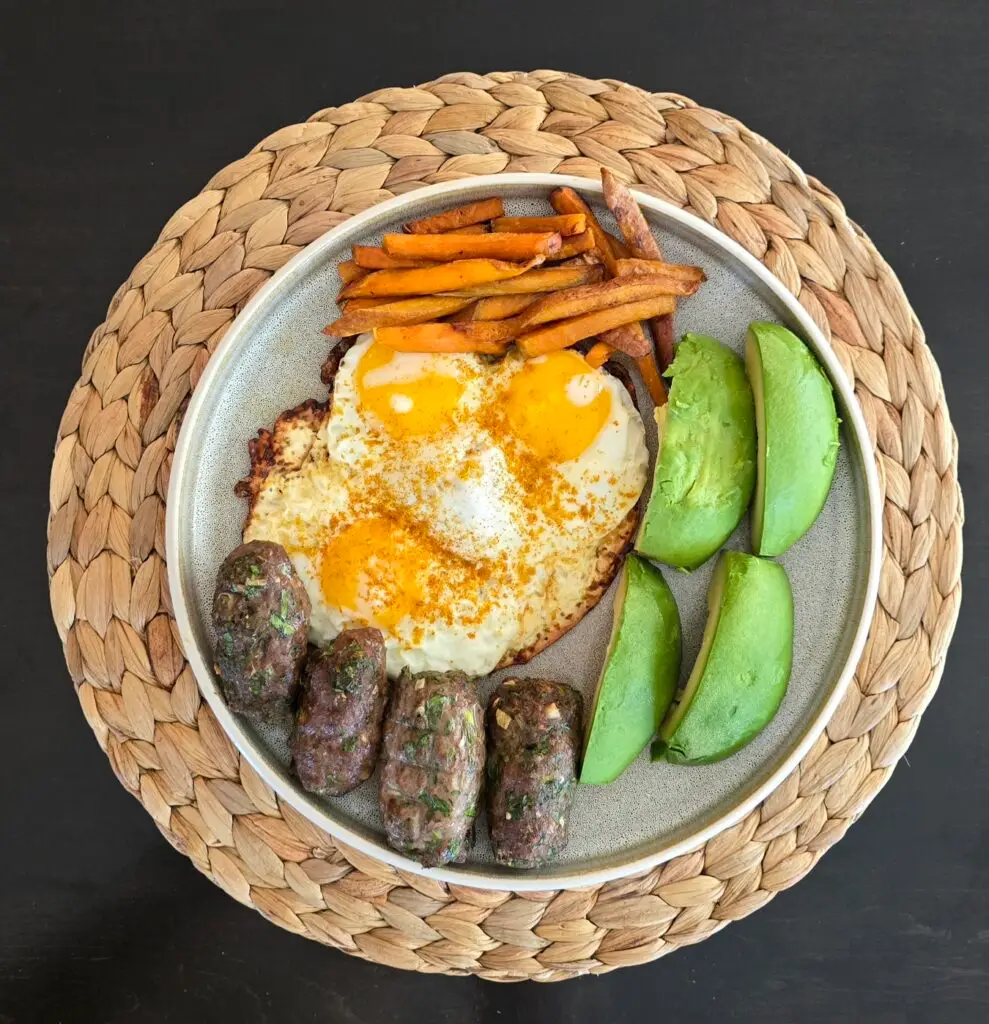
This super easy meal uses premade lamb kafta, store-bought beef tallow sweet potato fries, corn, and soy-free eggs, all from Sprouts, as well as an avocado. The only “cooking” I do is heating a stainless steel pan over medium heat while melting a tablespoon each of beef tallow and grass-fed butter. The air fryer is preheating. When the butter is bubbly, add the three eggs and let them sit. Next, load the air fryer with the cooked, refrigerated lamb kafta and the frozen sweet potato fries. Cook for six minutes on high (you might need to adjust this time based on your equipment). The eggs will usually just pop off the bottom, but sometimes I use a fork to gently lift the edge. If it won’t move, don’t worry; it’s not done cooking yet. Do not increase the heat. Next, I cut and peel the avocado. Finish cooking the eggs, slide them onto a plate, and carefully sop up the oil with paper towels. Then, take the pan to the sink and clean it while it’s still hot. Always clean stainless steel while it’s hot. Add a dash of soap and a little water at a time to create a steam clean. The air fryer is done. Remove the kafta and cook the fries for another six minutes for a crispy finish.
Basic Sauerkraut
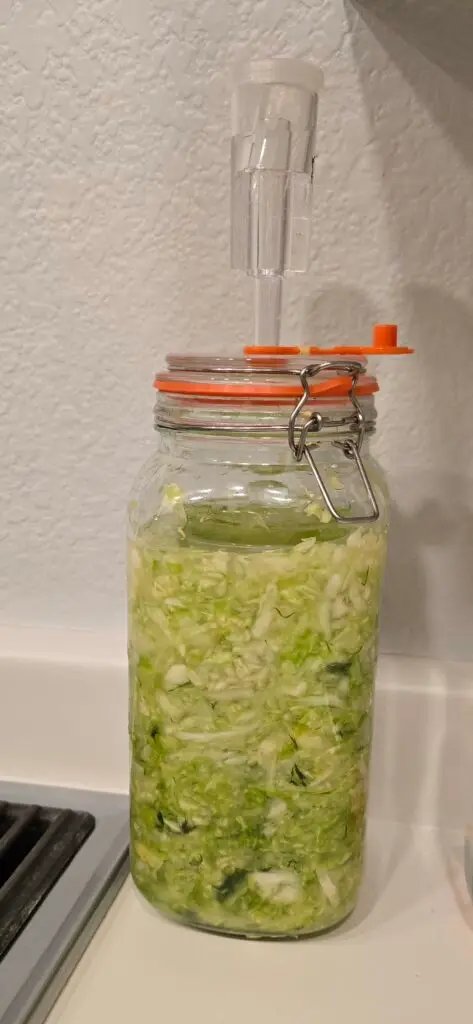
Basic sauerkraut is the place to start your fermentation journey. Nothing is easier. Ingredients: Green or red cabbage head, Salt, Water Start by weighing your cabbage in grams. A pour-over coffee scale works great for this and as a bonus you can use it to make coffee also. A 1.5 Liter jar (about 50 oz) holds one Kg (2.2 lb) of cabbage. A 2 Liter jar (64 oz) can hold 1.5 Kg (3lb) of cabbage. Reserve a couple outer leaves and chop the rest, stem and all. How fine or chunky is totally your call. There is no wrong way. Place in a large bowl. Now take 2% of the cabbage weight in a clean salt such as Diamond. Do not use iodized or poor quality salt (the famous “M” brand) as it has caking agents. For example if your cabbage was 1 Kg (1000g) then use 20g of salt. Anything in the 2 to 3% range is fine and it does not have to be precise. More is not better, stay with 2-3% range. Sprinkle the salt on the cabbage and give it a massage with your clean hands. Pack into a jar, press down as you add to keep the air pockets to a minimum. Place a whole leaf or two, trimmed to fit the jar, on top. Add the glass weight or some other weight. Now fill with clean filtered or spring water. Do not use tapwater as it has chlorine and other contaminants. Make sure there is water above the cabbage. Seal the jar either with a bubbler on top or just place the lid on top without force. Gas will be produced and needs a way to release. Let it sit at room temperature, out of sunlight. I prefer a 10 day ferment but there are no rules. Start tasting it anything after day 3 and refrigerate when it reaches the desired flavor. I wouldn’t go more than two weeks with plain cabbage as it can get soggy.
Instant Pot Shredded Chicken Breast
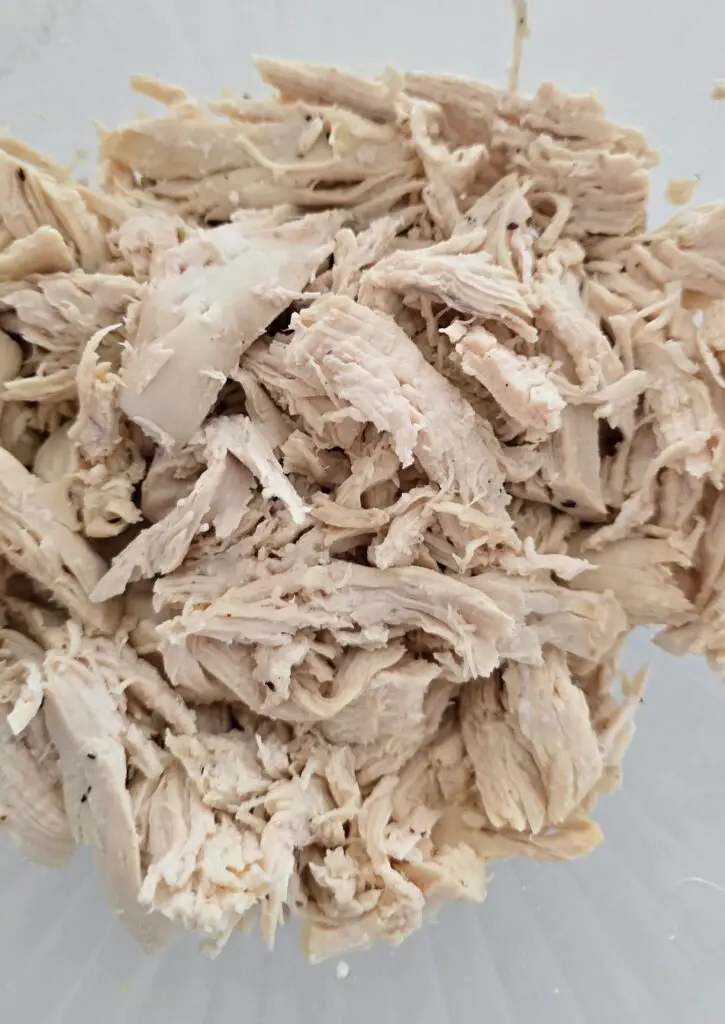
Shredded chicken is a versatile protein that can be used in many types of meals. Unfortunately, most of the chicken in our markets is raised on a diet of corn and soy. Chicken fed corn and soy has a higher omega-6 content than pasture-raised chicken that forages for itself. Avoid high-volume commercial chicken, no matter how enticing the price may be. The best chicken is often mail-order frozen from specialty farms, or from a local farmer if you happen to live nearby. Start with two or three boneless chicken breasts. Spread a thin layer of oil on the bottom of the Instant Pot. You can use olive oil, duck fat, tallow, or even ghee. Place the breasts in the pot. Add one cup of water for a 6-quart pot or 1.5 cups of water for an 8-quart pot. Close the lid and pressure cook on high for 9 minutes. Allow for natural decompression for another 9 minutes. Remove them from the pot and place them in a glass container. Shred them while they are still hot. Cover while still hot. Enjoy now or refrigerate for later.
Kafta – Lebanese style Baked and Spiced ground meat
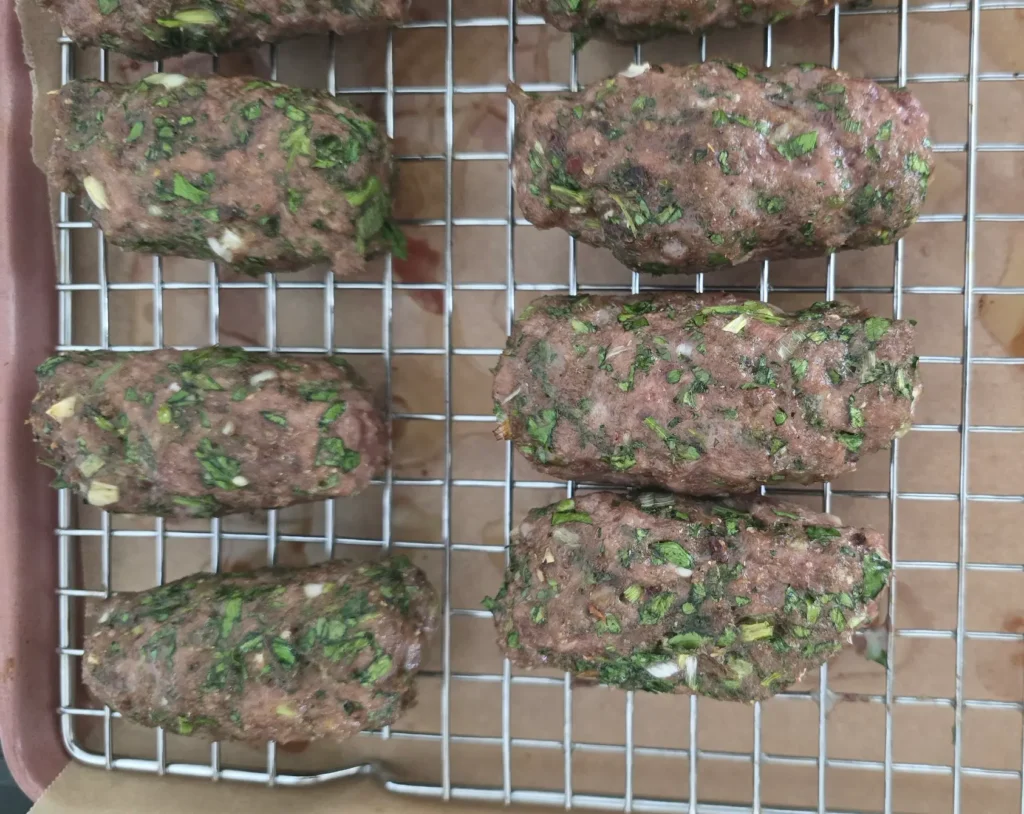
Kafta, sometimes spelled kofta, is a spiced, baked ground meat dish from Lebanon. It can be made with almost any ground meat. I’ve used ground lamb, venison, and ground bison. These meats have an A2 protein profile and a lower inflammatory response than standard beef, but grass-fed ground beef would also work well. This easy to make and and easy to eat protein reheats perfectly in the air fryer. Ingredients: 2-2.5lb (1 Kg) of ground meat (beef, lamb, bison, elk etc) 1 whole bunch Italian parsley, rough or fine chopped optional: fine chopped whites of green onion (scallion) 1/2 cup Pork Rind Panko 1 tablespoon 5 spice powder 1 teaspoon salt 1 teaspoon onion powder ground pepper optional (and fun) 1 teaspoon Scotch Bonnet or other dried pepper Preheat the oven to 375°F (190°C). Mix everything together by hand. Try not to overmix. The goal is to spread the flavors throughout without mashing the meat. Form small, sausage-sized logs, like fat little cigars. You can put a wooden skewer through them or not. Place them on a wire cooling rack inside a baking pan that has been lined with parchment paper. This allows air to circulate and catches the dripping fat. Do not place them directly on the pan; otherwise, they will not cook properly on the bottom. Bake for 20 minutes in the upper region of the oven. Remove them from the oven and turn the oven off. If you prefer a browner crust, place them back in the oven on the top rack. Set the oven to broil and cook for four minutes. Done! You can eat them plain, add mustard, wrap them in a lettuce leaf, or break them up and put them in your salad. There are so many ways to enjoy kafta! Refrigerate your leftovers and reheat them in an air fryer for three to four minutes for a quick protein-packed meal.
Chocolate “Mousse”: High Protein, No dairy, no Sugar ?!
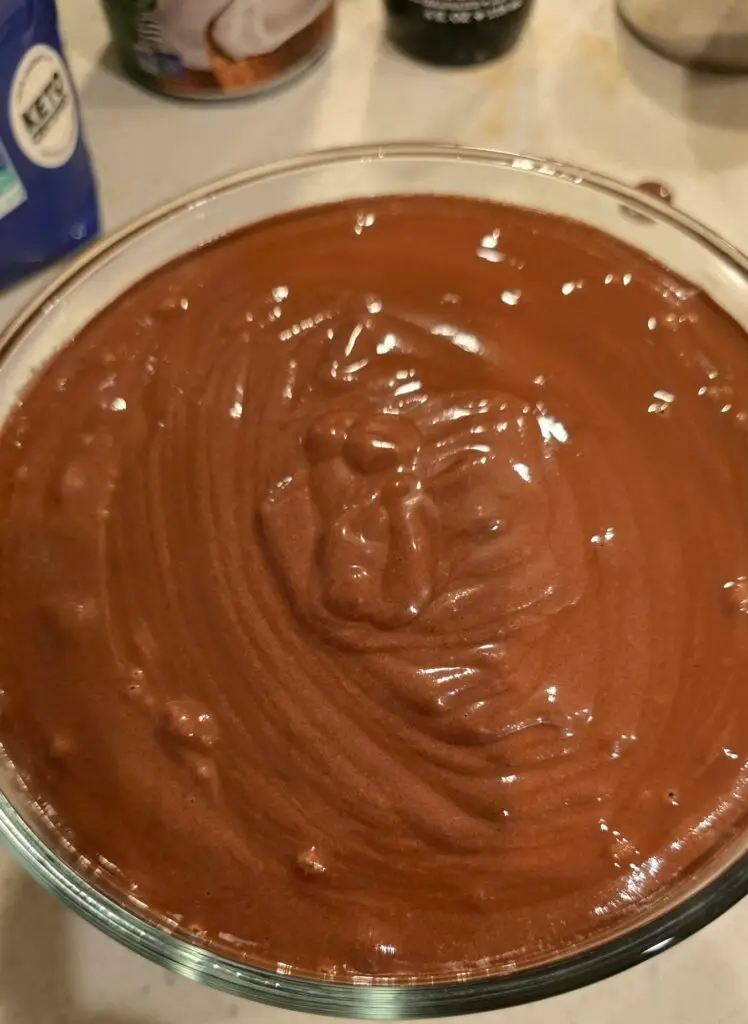
A protein mousse? You won’t believe this one. I modified a recipe from YouTuber Ben Azadi. I’ve made it several times and I’m still amazed by the result. The finished product is chocolatey, smooth, and full of protein and other healthy ingredients. An immersion blender is helpful, but a regular blender will also work — just not as easily. Get ready for a rich, chocolatey treat that’s free of sugar, gluten, and dairy! Ingredients: Eight hard-boiled eggs (see the Instant Pot recipe for easy, repeatable results). One can of pure organic coconut cream or milk (Native Forest is a good brand). Make sure it contains only coconut and water, with no added gums or other ingredients. 3/4 cup allulose powder 100% cacao powder. I’ve used Guittard Red Dutch-processed cacao powder. The Dutch process makes it pH neutral and reduces bitterness. With coconut cream, use 1/2 cup cacao. With coconut milk, use 3/4 cup cacao. 2 teaspoons of pure vanilla extract (no sugar added) 1 teaspoon of sea salt. Combine all ingredients and blend away! Blend blend blend until super smooth. Refrigerate over night and enjoy.
Instant Pot Shrimp
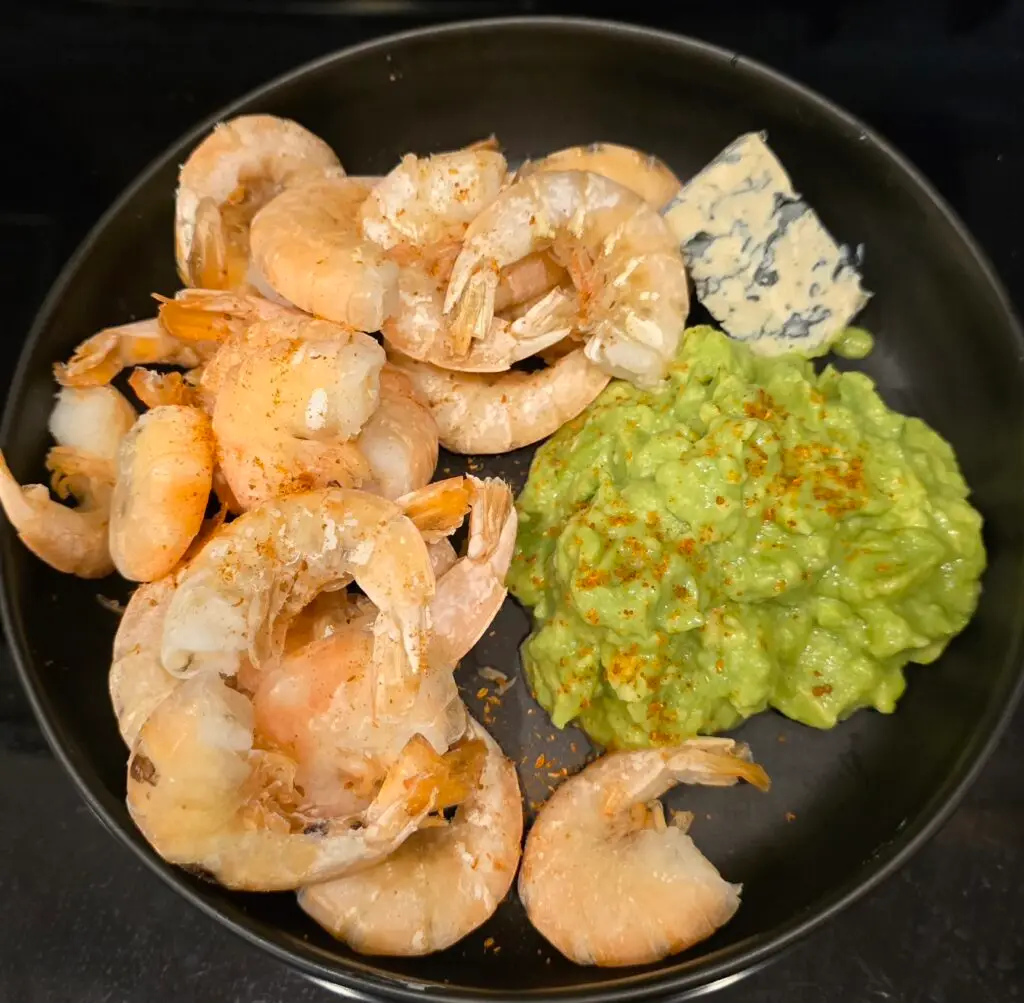
Shrimp is a delicious simple protein but tricky to make. This recipe violates only one Dr Dan principle in that it cannot be used as a “planover” as shrimp does not keep well even over night. Add this to a guacamole or as an extra protein in a soup, or just by themselves. Start with a 12-16 oz bag of frozen shrimp. Place in your steamer basket inside your Instant Pot. Add water ( 1 cup for 6 quart, 1.5 cups for 8 quart pot) Pressure cook high for 3 minutes, rapid release Enjoy!
Easy Instant Pot Eggs
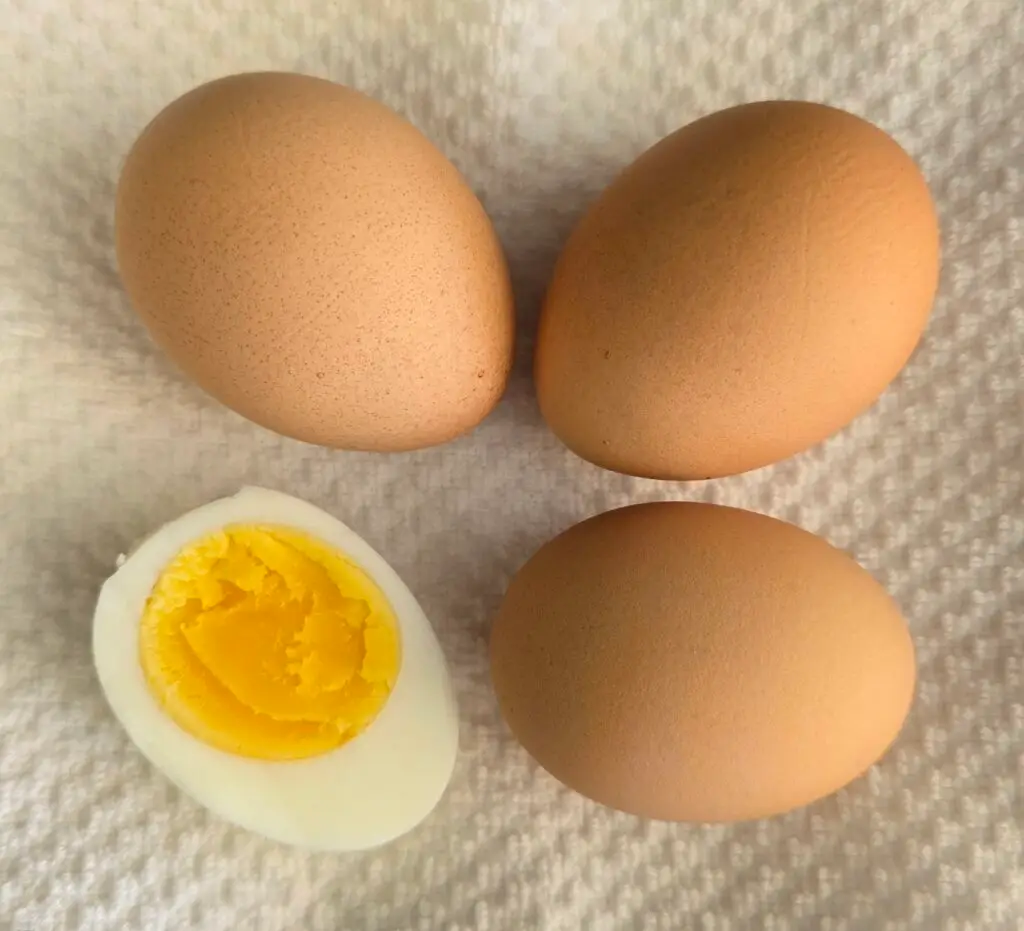
Hard-boiled eggs are quick and nutritious, yet many people have difficulty making them perfectly. Here is a simple way to ensure they are perfectly cooked every time. First, put the trivet in the pot. Add 1 cup of water for a 6-quart pot, or 1.5 cups for an 8-quart Instant Pot. Add as many eggs as you like. Pressure cook high for zero minutes. On some pots you must choose one minute and hit cancel as soon as it reaches pressure, others will allow zero time and auto shutoff. Do not open the steam valve; let it sit. This is called “natural decompression.” Set a timer for 14 minutes if you want your yolks to turn out like this. I think these are slightly over cooked but it’s your egg, your choice. A ten minute rest time will turn out more like this; Reduce the decompression to six minutes and they will look like this; I like both six and ten minute versions. Here’s a side by side comparison; Your Instant Pot may cook differently than my eight-quart model. Try the six, ten, and fourteen minute settings and find your favorite. Once you find the settings you like, this method is perfectly repeatable and very easy. A caveat about eggs: Most eggs sold in the U.S. are inflammatory! It may be tempting to buy discount eggs, but please don’t. Eggs from high-volume factory farms come from chickens fed corn, soy, and often, chemicals to change the yolk color, as well as antibiotics. The best option is local farm eggs, if you can verify that the chickens roam around and feed themselves. Corn- and soy-free eggs are available at Sprouts and Whole Foods. “Pasture-raised” can also mean corn- and soy-fed, and “free-range” just means they have access to an open door. It does not mean they are actually on a pasture. Chickens are omnivores who prefer to eat insects. They do not naturally eat corn and soy. It’s worth paying more for quality eggs. Poor quality eggs will harm your nutrition.
Vegan Kimchi – a four flavor powerhouse
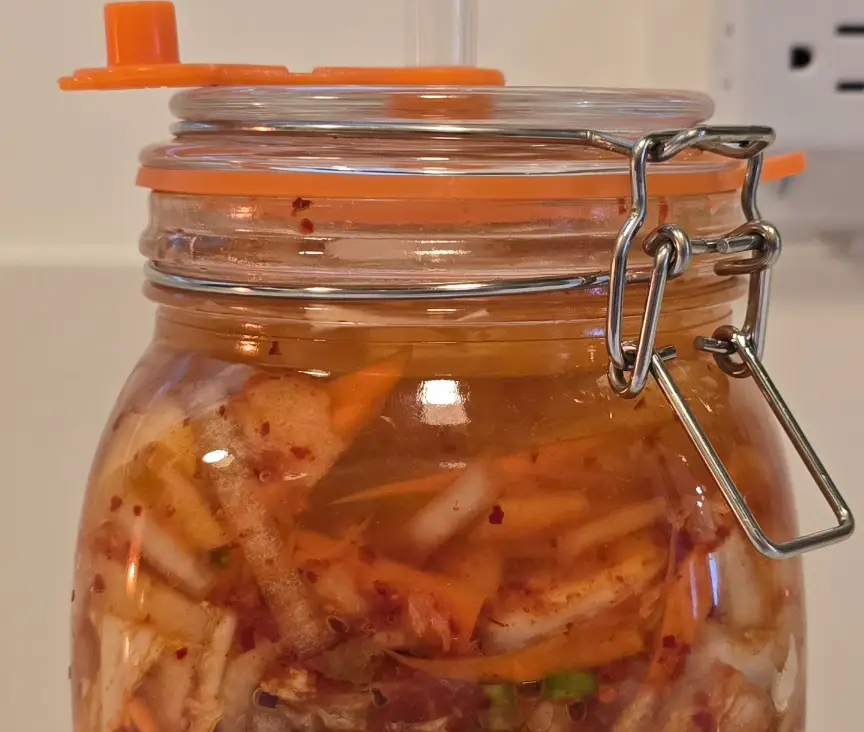
Kimchi is a popular Korean dish in the world of fermented vegetables. This version omits seafood and fish sauce, though they can be added if desired. The vegan version has a much lower odor profile while maintaining its nutritional value and unique flavors. Kimchi is famous for having all five flavors in one dish: sweet, sour, salty, bitter, and umami. However, this vegan version lacks umami, so consider adding mushrooms to achieve a more authentic taste. Place everything in a bowl and zero out the scale. Then, weigh everything. This will determine how much salt and chili flakes to add later. A 1.5-liter fermentation jar can hold up to 1,000 grams of raw ingredients, while a 2-liter jar can hold up to 1,500 grams. If your jar cannot hold all of your ingredients, adjust now before processing. The photo shows all of the ingredients except for the salt. Split and chop the napa cabbage, but save one leaf for the top. Roughly chop the onion and radish. Peel and slice the apple. Julienne the carrot, or just slice it. Finely chop the garlic and peeled ginger. Place all the chopped ingredients in a bowl and add 2% salt by weight of the original raw ingredients. Multiply your initial weight in grams by 0.02 or use the percentage function on a calculator. Sprinkle the salt on top, then mix by hand just like you would with sauerkraut. Let it sit while you clean your kitchen. Allowing a little time for the salt to work helps draw water out of the ingredients. Next, select your preferred level of spiciness with Korean gochugaru chili flakes. There is no substitute for this type of chili pepper. You can find them in Asian markets, but I buy mine on Amazon. Or, skip the chili flakes altogether and try “White Kimchi,” which is similar to the 3,000-year-old original. Peppers originated in the New World and were not included in traditional Old World cuisine. One tablespoon of gochugaru chili flakes equals spicy. Two tablespoons of gochugaru chili flakes equals hot. Three tablespoons of gochugaru chili flakes equals very hot. More? You’re on your own! Using either gloved hands or a large spoon, mix in the chili flakes. Add all the ingredients to a fermentation jar and pack them down with a kraut pounder as you go. Place the reserved whole Napa cabbage leaf on top, followed by the weight. Press down. If needed, make a 2% saltwater solution and use it to fill the jar until the water level is about an inch above the weight. Do not fill the jar all the way up. Kimchi expands quite a lot during fermentation. If the brine rises above the bubbler and comes out, simply remove the bubbler, wash it, refill it with water, and reinstall it. It is also a good idea to put paper towels and/or a tray under the fermenting kimchi. Now comes the hard part—you have to wait ten days. It will taste good after seven days, but the extra time allows the flavors to blend even better. While it’s not wrong to ferment it longer, I can’t promise that you’ll like the flavor. You might like it, though.
Top Sirloin Steak – sous vide and air fry affordable goodness
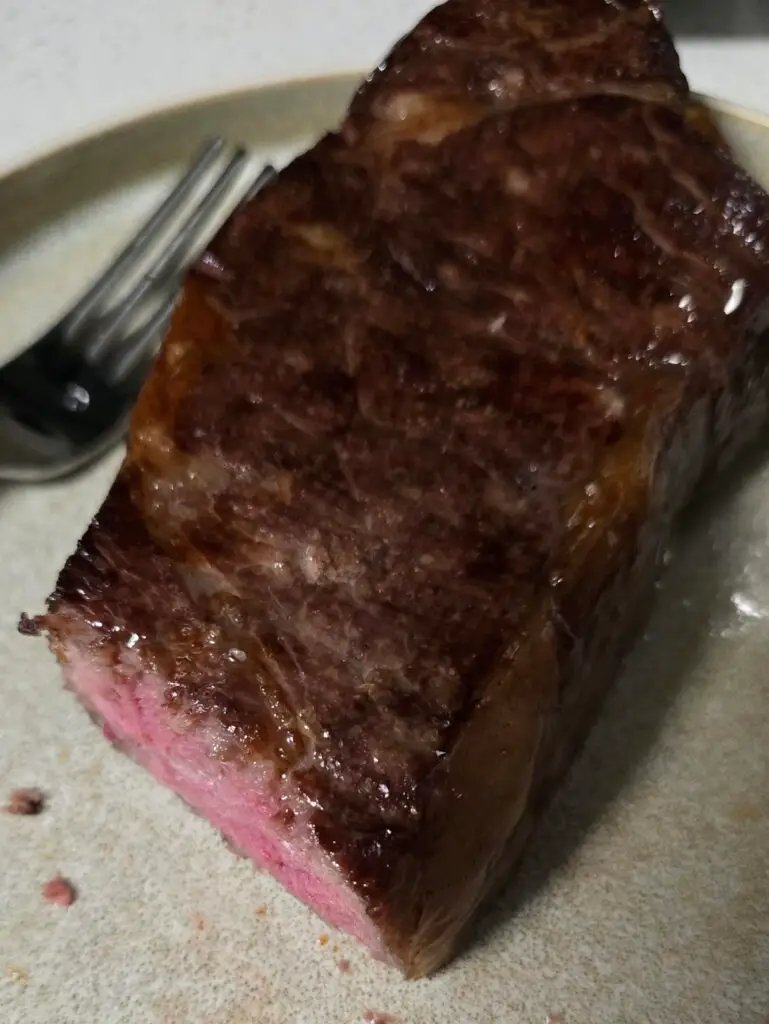
Another affordable cut of meat is top sirloin. You can buy a whole roast and cut your own steaks for even more savings. Even the grass-fed version is at the lower end of the price spectrum. When cooked sous vide and then dry-brined and air-fried, it has the texture of a New York strip steak, but with a bit less flavor. A generous amount of salt helps boost the flavor, but it will never reach NY or Kansas City strip levels. Start with your vacuum-sealed, frozen top sirloin steaks. Place a small trivet on the bottom, add the steaks, and then add water. Fill your sous vide with about two inches of water above the steaks. I like to put a small plate on top to keep them from floating. Set the temperature to 131°F and the time to 2.5 hours (for frozen meat) or 2 hours (for fresh meat). When finished cooking, remove the steaks from the bag and place them on a wire rack on a baking sheet. Sprinkle coarse salt and freshly ground pepper on both sides, then dry brine in the refrigerator for at least 30 minutes, up to overnight. To finish, place them in your air fryer on high and fry for 10 minutes.