
“Palmaroni” and cheese – wheat free comfort!
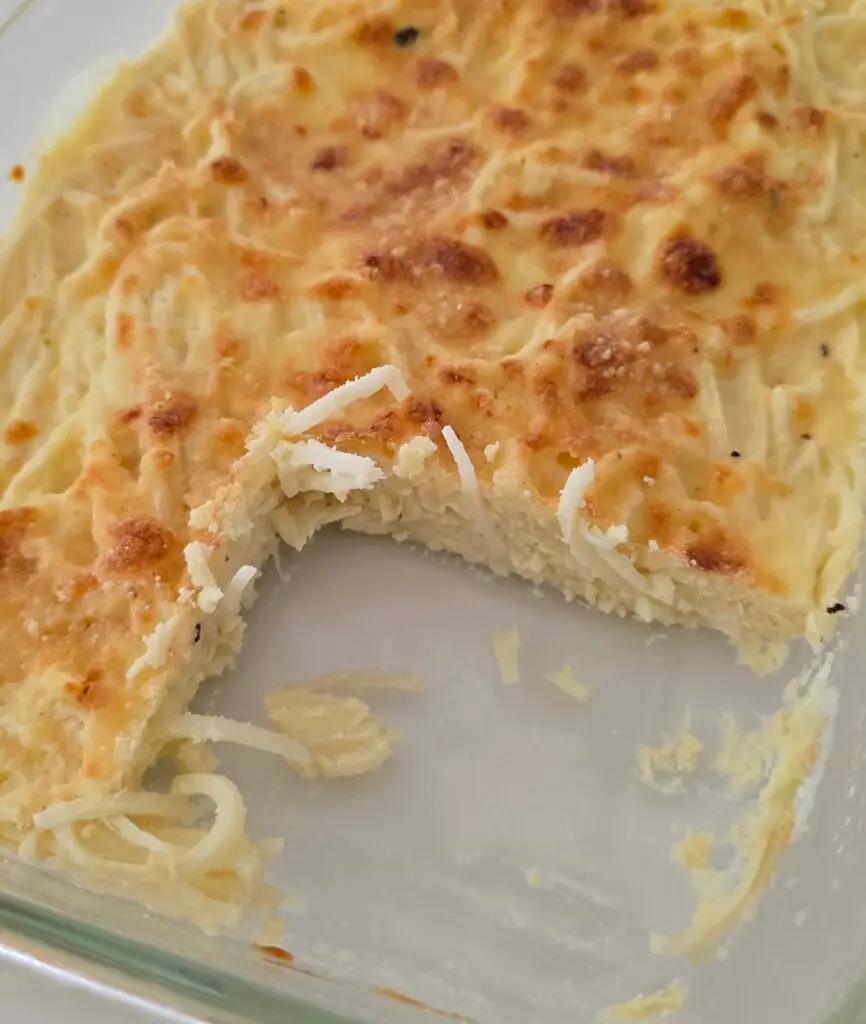
In the cold winter months, nothing hits the spot like a warm meal. Macaroni and cheese is a classic, but it contains a lot of wheat. This version uses Palmini linguine noodles made from hearts of palm—yes, a vegetable! The cheese, flavor, and texture are all authentic. Now, you can enjoy a low-inflammatory version of this classic dish! Ingredients: 2 packages Palmini Linguini noodles 8 oz A2 Grass-fed raw sharp chedder (try for grass-fed even if not A2/A2) 8 oz of grass-fed classic jack or chili jack cheese, split into two parts. The Origin brand is so creamy! 1 teaspoon onion powder 1/2 teaspoon each garlic and mustard powders 1 cup grass-fed half and half or heavy cream 2-4 tablespoons grass-fed butter Pork King Good Pork Rind Crumbs (original flavor) Begin by soaking the Palmini noodles in water. Preheat the oven to 350 degrees Fahrenheit. In a stainless steel pot, shred 8 ounces of cheddar cheese and 4 ounces of pepper jack cheese. Add them to the pot with the half-and-half and spices. Slowly melt the mixture over medium-low heat, stirring often. Once the cheese has melted completely, drain the noodles and place them on a baking sheet lined with paper towels. Spread them out and bake for 5-10 minutes until dry. It’s important to dry the noodles before adding them to the cheese mixture so the cheese incorporates properly and doesn’t become runny. While the noodles are drying, increase the heat until the cheese mixture comes to a boil. Watch carefully and turn off the heat as soon as the mixture begins to bubble. Transfer the dry Palmini noodles to a 9×13 Pyrex baking dish. Pour the cheese mixture over the noodles, spreading it around to cover all the noodles and blend it in. Sprinkle the remaining 4 oz of Jack cheese on top, followed by the pork rind crumbs. Bake until bubbling, about 10-15 minutes. Then, transfer to the top rack and broil until golden brown, about 3 minutes. Watch carefully and adjust the time according to your broiler.
Sous Vide Flat Iron Steak – a budget friendly cut
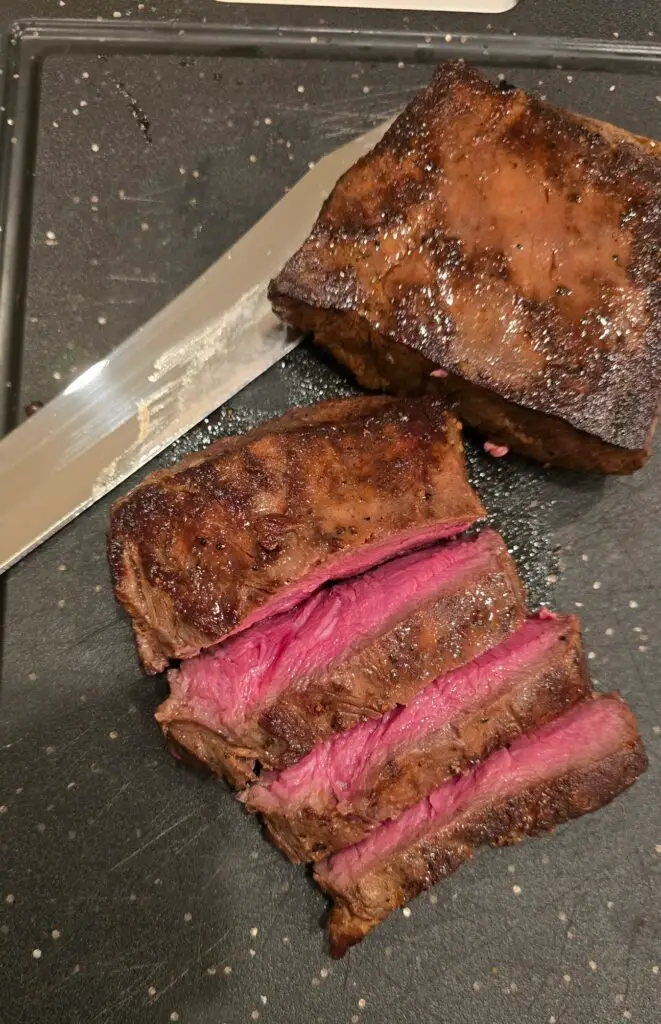
We all love ribeye steak. But with prices soaring, it’s difficult to feed a family. The flat iron steak is one of the more affordable cuts of meat to try. It’s a tougher cut of meat that’s perfect for sous vide cooking. Heat the water to 131°F and cook the steak sous vide for 1 hour and 30 minutes if it is fresh or thawed, or for 2 hours and 30 minutes if it is frozen. When finished cooking, remove the steak from the bag, sprinkle salt on both sides, and place it on a wire rack in the refrigerator for a dry brine. This can take as little as 30 minutes or as long as overnight. To finish, cook in a frying pan or on the grill for 2 minutes per side to achieve a nice color. Slice and enjoy! The flavor and texture is similar to a New York strip steak, but at half the price!
Instant Pot Salmon
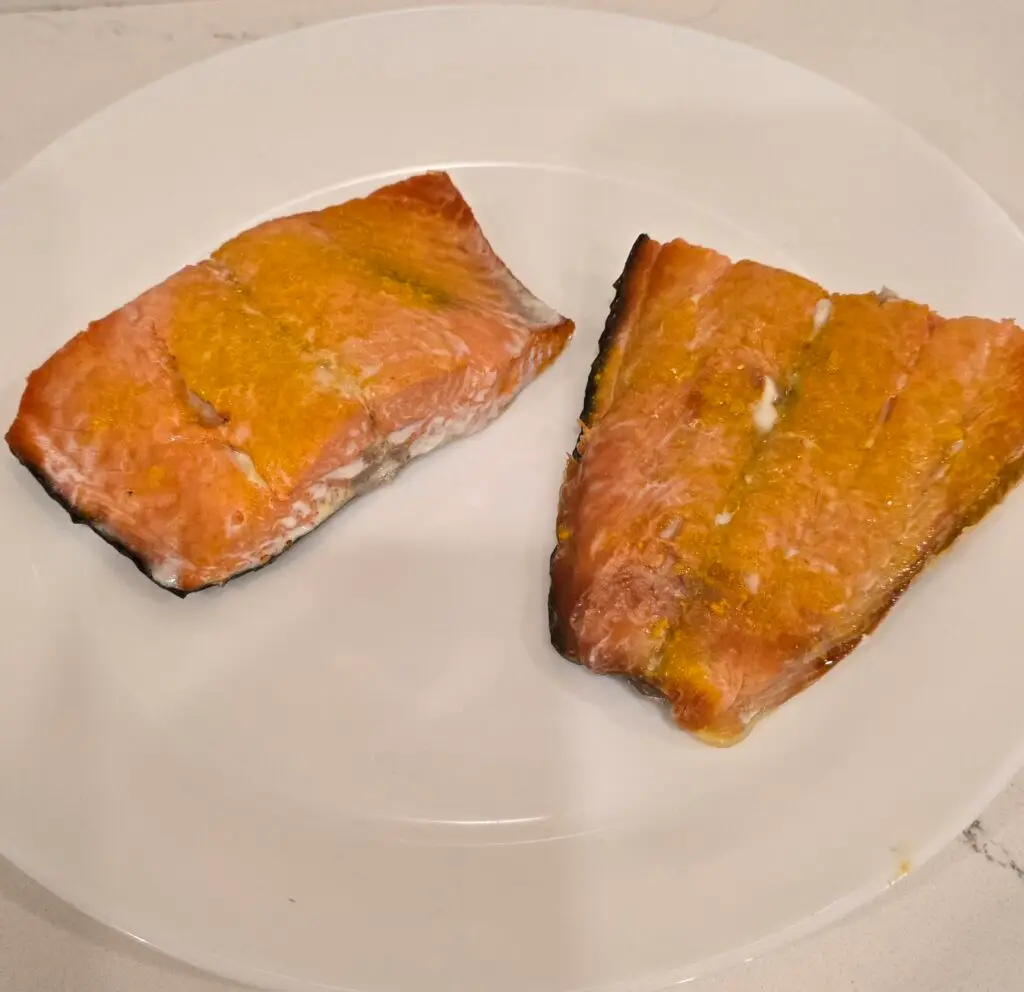
This recipe for perfectly cooked salmon is as easy as it gets. Start with wild-caught salmon and sprinkle it with salt and any other seasonings you like. I often use turmeric. Place the salmon on a wire rack in a pan and refrigerate for at least 30 minutes or up to overnight. Add one cup of water to the pot. Cut the salmon into pieces that are easy to serve and place them in a steamer basket or on the Instant Pot trivet. Set the pot to high pressure for three minutes for well-done, or two minutes for soft, flaky salmon, and start cooking. Quick release and enjoy! The only limitation of this recipe is the small quantity, but the cooking time is short enough to empty and reload for another round.
Probiotic Dairy – AKA Healing Yogurt
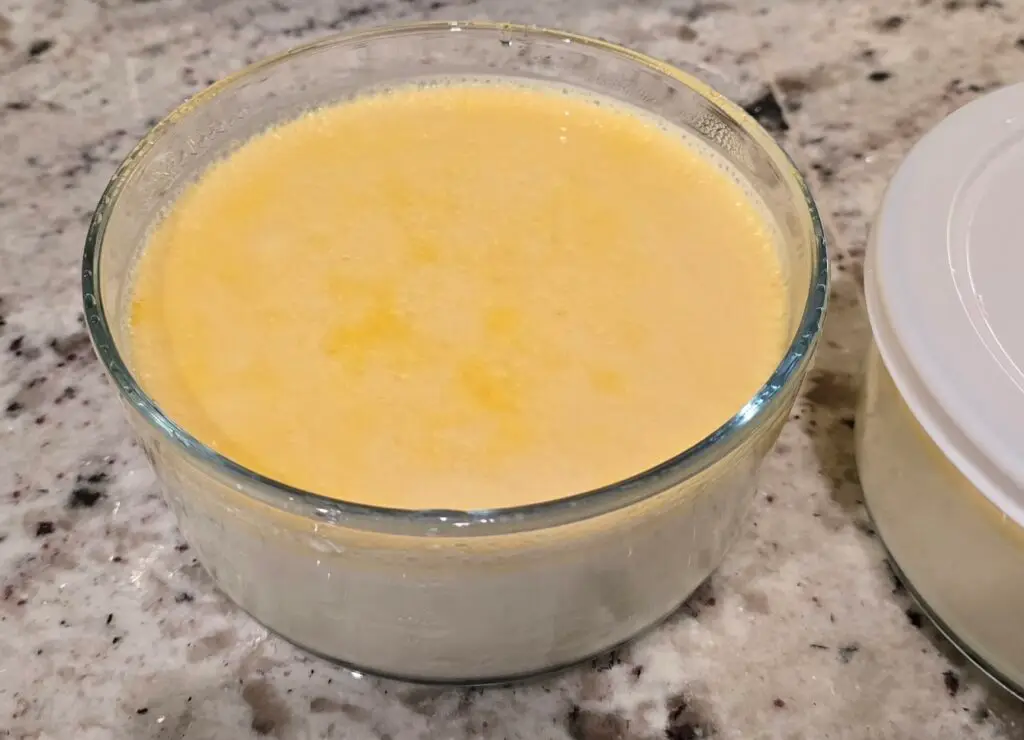
Stay tuned to this post! I am developing recipes for Dr. Davis-style probiotic dairy products. While it is not technically yogurt, it is made using the same techniques. The main differences are the use of specific bacteria and a 36-hour fermentation time, which increases bacterial numbers to the twelfth power! Commercial yogurt is not comparable. I’ll update this post with the exact recipes and techniques as soon as they’re ready. Note: Some people react to dairy proteins, even when they are fermented. If you are new to the anti-inflammatory lifestyle, it may be best to avoid dairy until your immune system has adjusted. In the sauerkraut and kimchi sections, I’ve discussed the benefits of fermented foods. I’ve also warned about the raw components of milk that we shouldn’t ingest. Fermented dairy is different. The fermentation process reduces or eliminates unwanted compounds and adds beneficial ones. I’ve been experimenting with different types of bacteria and milk products, but I’m not ready to announce the winners just yet. I don’t have enough data to discuss some of the health claims, but I can tell you that this is the most delicious “yogurt”-type food I have ever tasted. I won’t be buying much store-bought yogurt anymore. As with all Dr. Dan recipes, I won’t post it until it’s in my normal food rotation. Basic recipe: I start with grass-fed half-and-half or heavy cream. Even better if you can find A2/A2 protein products!. Then, I mix in an L. reuteri or L. crispatus starter with two teaspoons to a tablespoon of inulin. I blend everything well, then top off the container with grass-fed whole milk. I usually place the container in the yogurt maker before adding the milk. Repeat this process for the second bowl. Then, snap on the lids and add water. Fill it almost to the top—just shy of three and a half cups in my machine. Place the cover on. Plug in the machine and set the temperature to 98°F (37°C). Set the timer for 36 hours. These are human strains of bacteria, so we want to use body temperature. Pay attention to your start time because it affects the finish time. For example, if you start at 6 p.m. on Monday, the fermentation will finish at 6 a.m. on Wednesday. We don’t want the fermentation to exceed 36 hours. Shorter fermentation times will work, but the bacteria count will be different. The goal of a 36-hour fermentation is to multiply the bacteria 12 times so that there are hundreds of billions of them. Once finished, I prefer to strain it using a yogurt strainer (Greek-style). I like how thick and creamy it becomes. It’s delicious, and I’ve been eating it daily. I’m still working on the health claims and will have more to say on this later. I have tried both the generic, Amazon-purchased versions and the more expensive, brand-name MyReuteri™ and MyCrispatus™. I must admit, the brand-name versions are much nicer. The flavors and textures are superior. If you can afford it, go with the brand name.
Malanga and Elephant Taro Root Air Fries
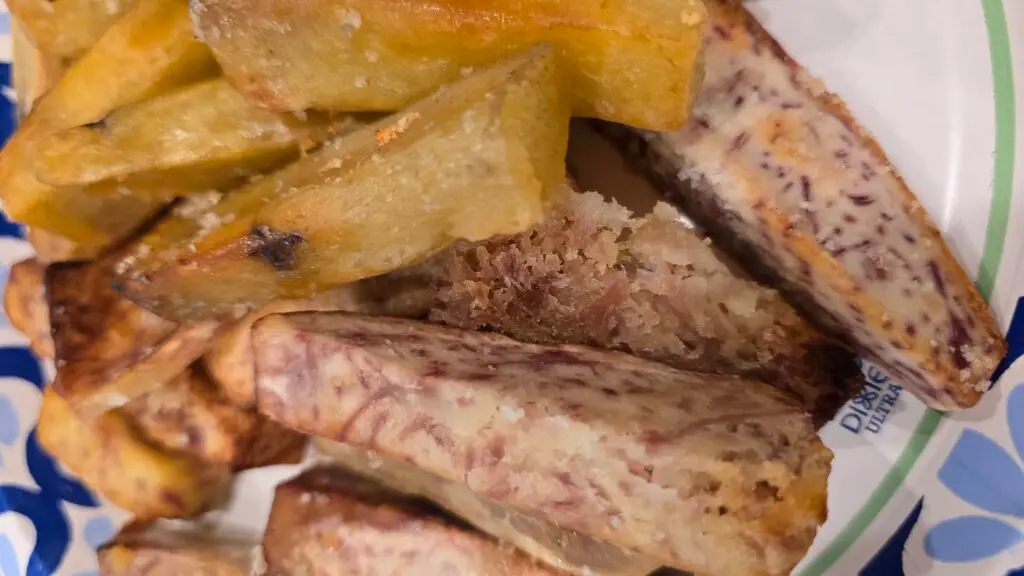
Malanga root can be found in Asian or Latin markets. It resembles a large, brown, furry carrot. Malanga root and elephant taro root can be found in Asian and Latin markets. Elephant taro can grow to be enormous — I once bought a 15-pound root! Check for soft spots, as they are prone to mold. Both roots are prepared the same way and produce delicious, yet different, fries. Begin by peeling off the outer skin with a potato peeler. Both contain oxalates that must be detoxified before consumption. Do not eat either of these raw. I have not had any issues handling them with my bare hands, but some people are sensitive to oxalates and should wear gloves during preparation. The malanga will feel slimy. Just rinse it under water as needed so that it doesn’t slip out of your hands. The skin on both roots peels easily. Cut into fry wedges and or thin chips. Rinse in water and drain the water. Place it in a strainer basket in your Instant Pot and pressure cook it for 5-6 minutes. The cooking time depends on how much root is in the pot and how they are cut. Fries usually need 6 minutes while the thin chip style does well with 5 minutes. It is better to do two batches than stuff the basket very full. Both should be fork-tender when done. Avoid overcooking, or they will fall apart. If you overcook them, you can mash and season them like mashed potatoes. If they are undercooked, add another cup of water to the Instant Pot and pressure cook for one more minute. Pour them onto a baking sheet lined with paper towels. Let them cool. Place them on a baking sheet and freeze overnight. The next day, break them off and bag them up for later. Remove from the freezer and place directly into the air fryer pan on parchment paper. Here they are in the air fryer, covered in olive oil. Malanga is on the left and taro is on the right. Take a close look at the preparation. Simply douse it with olive oil and salt. Here are the finished, crispy fries. Notice the color of the taro and the brown exterior of the malanga. Both roots have a lower glycemic index and are higher in fiber and nutrients than potatoes.
The Sprungl Brunsli
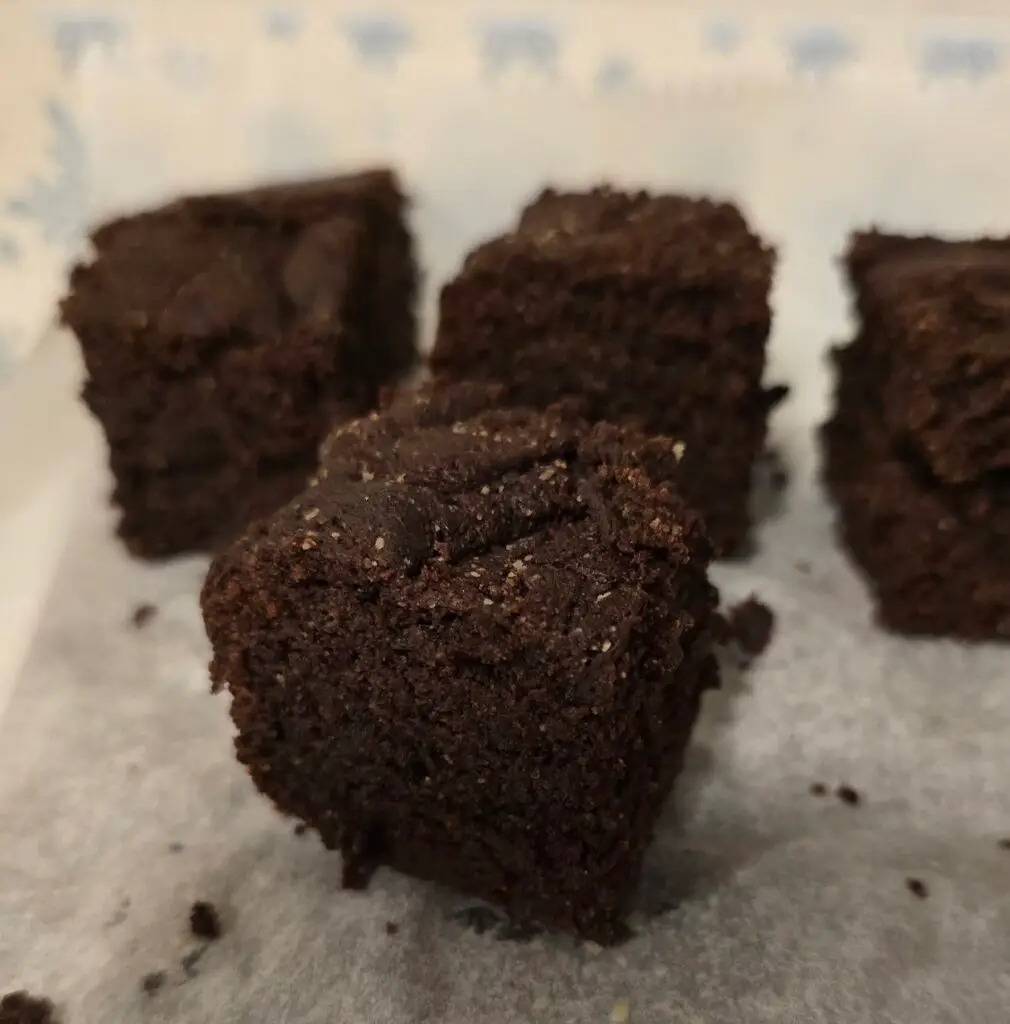
Many years ago, Dr. Dan had a friend named Jeff. Jeff owned a business that imported Swiss chocolate. I had the idea to use that chocolate for brownies. After nearly two years of experimenting, the final result was a success. Of course, this was the 1980s, when we thought that sugar and wheat flour were great. As tasty as the original recipe is, I can’t recommend it today. With the help of Grok AI, I modified the original recipe and substituted healthier ingredients. The result is a brownie that is nearly identical to the original but without the wheat and sugar. However, it still contains refined flours (blanched almond and sorghum), so it is a source of carbohydrates. If you occasionally must have a sweet treat, then give this recipe a try. side note: cocoa is processed cacao beans. Cacao is the pure ground beans. I recommend five 50-gram bars of Lindt 100% cocoa (250g total). You can use another brand of 100% cocoa, but you may need to adjust the amount of butter. For pure cacao powder, use 170 grams of powder and 200 grams of butter. I haven’t found another brand that delivers an amazing chocolate flavor like genuine Lindt. These brownies get their name from the original Lindt & Sprungli chocolate. 250g 100% Cocoa 175g grass fed butter (A2/A2 if you can find it) 170g allulose 4 eggs (corn and soy free if you can get them) 50 g blanched almond flour 50 g sorghum flour 1/2 teaspoon gluten free baking powder (Otto’s naturals grain-free) 1/8 teaspoon salt 2 teaspoons real vanilla extract (vanilla, water, alcohol – no sugar) Method Preheat oven to 325 F Using a double boiler (water in the bottom pot, butter and cacao in the upper pot) melt the butter and cacao together. Stir as it melts and make sure it is completely blended before next step. While butter/cacao are melting, beat the 4 eggs with the 2 teaspoons vanilla in a bowl. Set aside. Weigh the 50g almond and 50g sorghum flour. Add 1/2 teaspoon baking powder, 1/8 teaspoon salt and mix well. Set aside. Weigh the 170g allulose. Once the butter and cacao are fully melted and mixed into a ganache, turn off the heat and remove the pot from the boiling water. Mix in the allulose. This step is critical because it will remove enough heat to safely add the eggs without cooking them. Once the allulose has completely dissolved, pour in the eggs and vanilla and mix thoroughly. This combination will look greasy but will hold together. Scrape the sides well, then add the remaining dry ingredients via a sifter or strainer.. Mix well to blend in all the dry ingredients. Scrape the sides as needed. Line an 8×8-inch metal pan with parchment paper and pour in the batter. Spread it evenly and let it rest for about 10 minutes. For thinner brownies use a 9×9 inch metal pan. Glass bakes different and won’t have the same result, use metal with parchment paper. Bake the 8×8 inch pan for 22 minutes, the 9×9 inch pan 20 minutes at 325 F. Remove and let cool. Then, remove them from the pan and cut them into whatever size squares you prefer. I like to make 16 cubes. Place in a glass container and refrigerate once completely cooled. The flavor and texture will improve over the next several days.
Instant Pot Chicken Broth & Soup
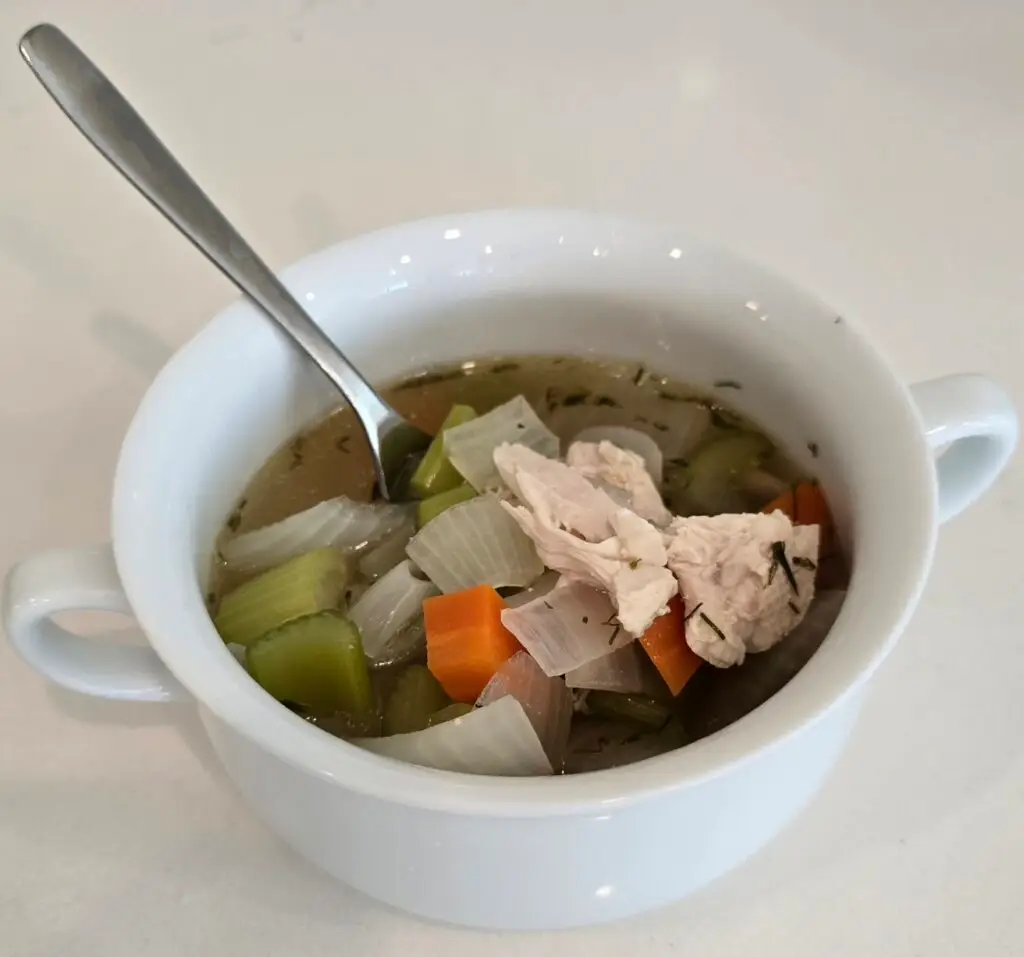
Instant Pot Homemade Chicken Broth and Soup Once you’ve made this broth, you’ll never want canned soup again! Ingredients: 1) One whole pasture-raised chicken, if possible corn and soy free. 2) One bunch of celery 3) One large carrot 4) One large onion 5) Dried thyme 6) Dried dill 7) Quality sea salt 8) Ghee 9) Two cups of water (500 cc), plus an additional two cups reserved. Start by cleaning and chopping the vegetables and setting them aside in a bowl. I used four stalks of celery. Peel and chop one carrot. Coarsely chop one large onion. The texture of the vegetables can be adjusted by changing the size of the pieces. Leave them larger for a crunchier texture, or cut them smaller for a softer texture. Separate the whole chicken into parts. There are many YouTube videos demonstrating this process. Use whichever method works best for you. I prefer to cut the wings at the joints. Then, separate the back from the “crown,” which is the two breasts and bones together. Finally, remove the legs and include the “oyster” meat. The back and rib cage will flavor the broth, which is the base for the soup. If you prefer dark meat in your soup, add the leg quarters. Do not cook the white meat when making the broth because it will overcook. If you prefer white meat, cook it separately. See the sous vide chicken breast recipe for instructions on cooking white meat. I like to vacuum seal and freeze any leftover meat. Set the Instant Pot to sauté and add two tablespoons of ghee. For an Asian flavor, use coconut oil and finish with ginger and scallions. When hot, add the backbone with the skin. If the chicken is small, add the wings as well. Coat the chicken in the melted ghee and leave it alone for about five minutes. The goal is to caramelize the skin for flavor. If you have a second Instant Pot, now is a good time to vacuum seal and sous vide cook the white meat. Add one teaspoon of salt and scrape the chicken loose. Then, add half a cup of water to deglaze the bottom. Use your heavy spatula to scrape it clean. We want that flavor in the broth. Turn the Instant Pot off. Add the remaining water to make 2 cups total. Close the lid. Pressure cook on high for 12 minutes, followed by a 5-10 minute natural decompression. Then, open the pressure release valve. Place the chopped vegetables in a pot along with one to two teaspoons of dried thyme and/or dill. Use whatever flavor you prefer. Add another teaspoon of salt. When the chicken broth is finished, pour it over a strainer placed over the pot of vegetables. Add the remaining two cups of water, stir, and bring to a boil. Watch carefully, and turn off the heat just as the broth begins to boil. While the broth is heating up, pick the dark meat off the wings and back. Reserve it to put into the soup stock. Turn off the heat as soon as it begins to boil, add the dark meat, and cover. Do not stir. Once cooled, add the white meat that has been cooked sous vide and reheat to serve. After refrigerating it, you will see a layer of fat on top. I don’t recommend removing it because it’s very nutritious.
Sous Vide and Grilled Salmon
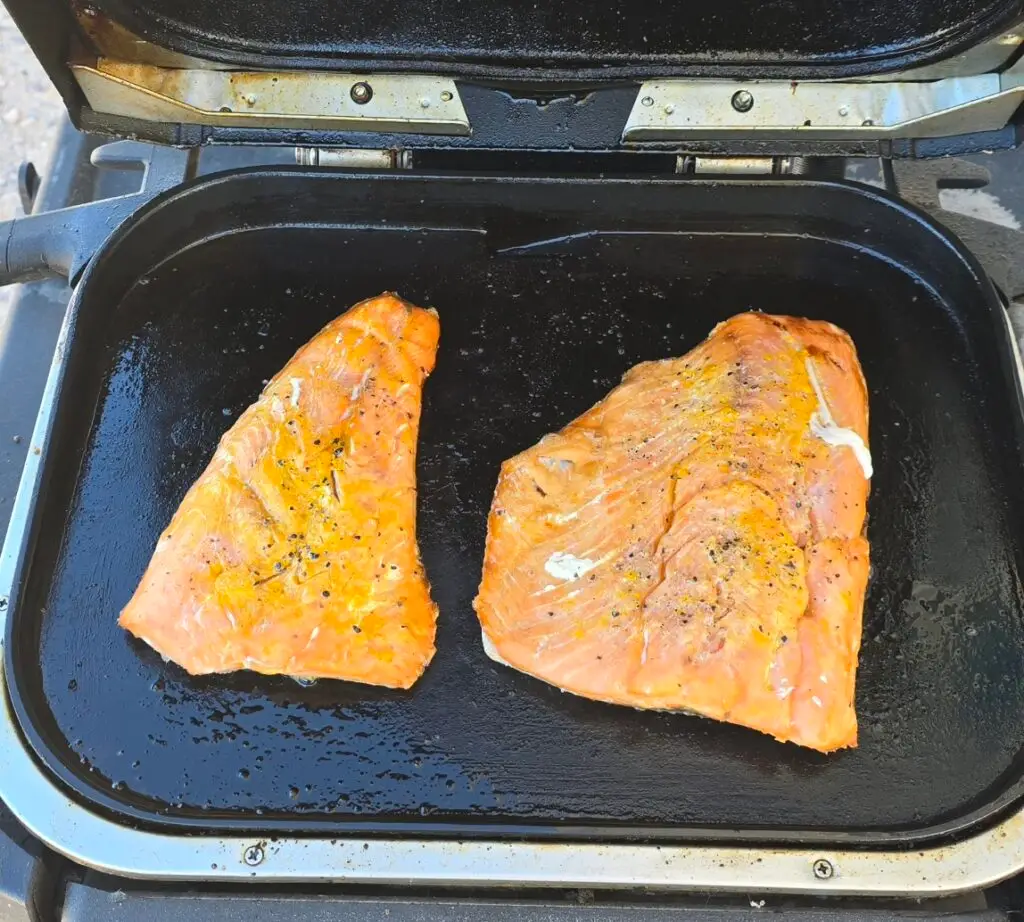
Frozen salmon: sous vide, brined, and grilled. Fresh salmon is unavailable most of the year, so we have to choose frozen. This easy recipe always produces great salmon flavor. Begin by using a sous-vide-safe bag or a vacuum seal. Set the Instant Pot to “Sous Vide” mode, or use a dedicated sous vide device. Set the temperature to: 113°F for a very soft texture or 122°F for a flaky texture. Most pieces that are 1 inch thick require 70 minutes of cooking time. Add 30 minutes if your piece is 1.5 inches thick. If you happen to have fresh or if you defrosted it then use 40 minutes for a 1 inch piece and 60 minutes for 1.5 inch thickness. Turn on the Instant Pot, but wait to add the salmon until the pot reaches the correct temperature. Unlike other meats, which can be added during the warm-up period without issue, salmon will overcook if added too early. When you’re finished, remove the salmon from the water. Open it up and place it on a baking rack. Sprinkle with salt, pepper, turmeric, or other desired spices. Refrigerate for at least 30 minutes or up to overnight. Cold salmon is delicious in a salad. Keep reading for the grilling method. . To finish: Start your grill on high. Rub both sides of the salmon with olive oil. Place it skin side down on the grill and cook for three minutes. Do not flip. Remove and enjoy!
Chicken Breast Perfection; Sous Vide and Grill
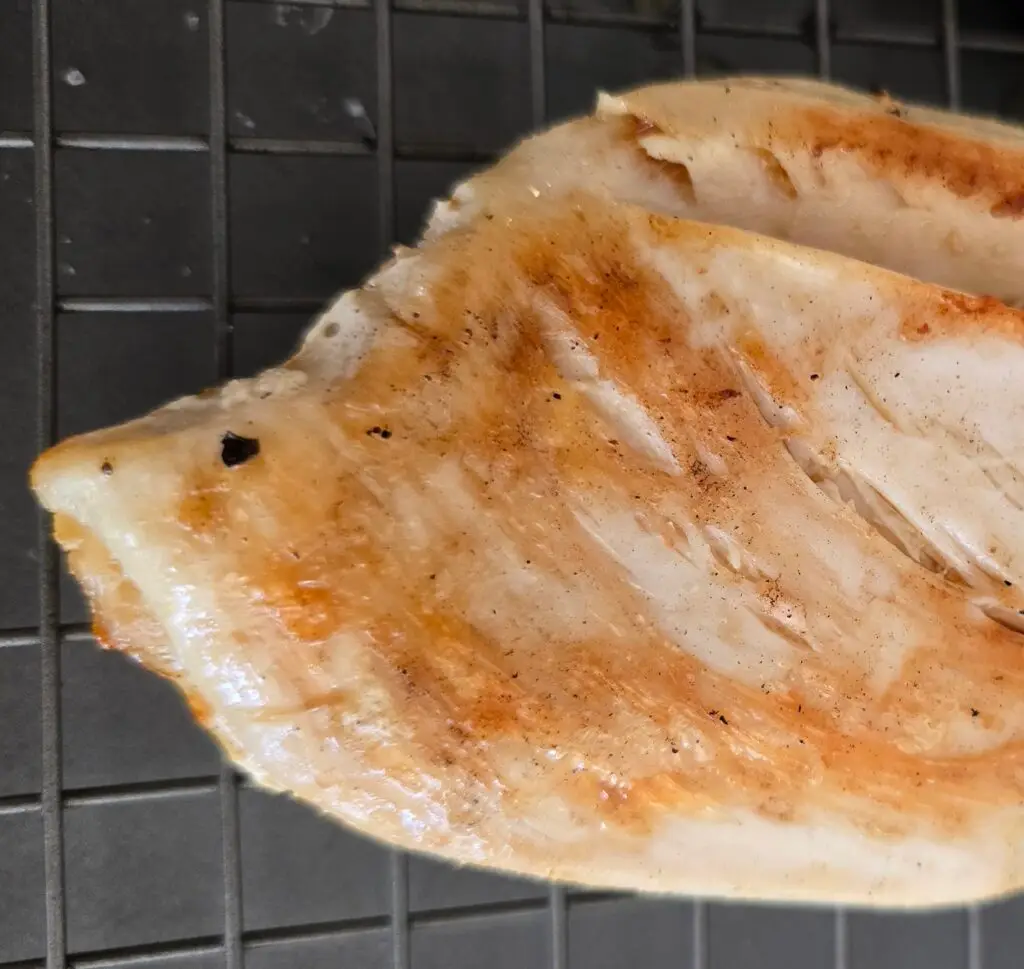
Grilled chicken breasts can be delicious or dry and tough. This recipe ensures perfectly tender and tasty chicken breasts every time. Start with frozen chicken breasts in a sous vide-safe bag or a vacuum-sealed bag. Set the sous vide to 149°F for two hours and ten minutes if the chicken is frozen. If using fresh chicken, cook for 1 hour and 10 minutes. When you’re finished, remove the chicken from the bag one piece at a time and place it on a plate. Then, put another sturdy plate on top and press down to flatten the chicken. Do this for all of them. Sprinkle with salt, then place on a wire rack in the refrigerator for at least 30 minutes and up to overnight. Flattening the chicken helps with the grilling process. Heat your grill to high. Lightly coat both sides with olive oil, then place them on the hot grill or griddle for a total of three minutes. Cook the first side for two minutes, flip it over, and cook for one more minute. Enjoy tender, moist chicken with a nicely grilled exterior!
Chicken Korma
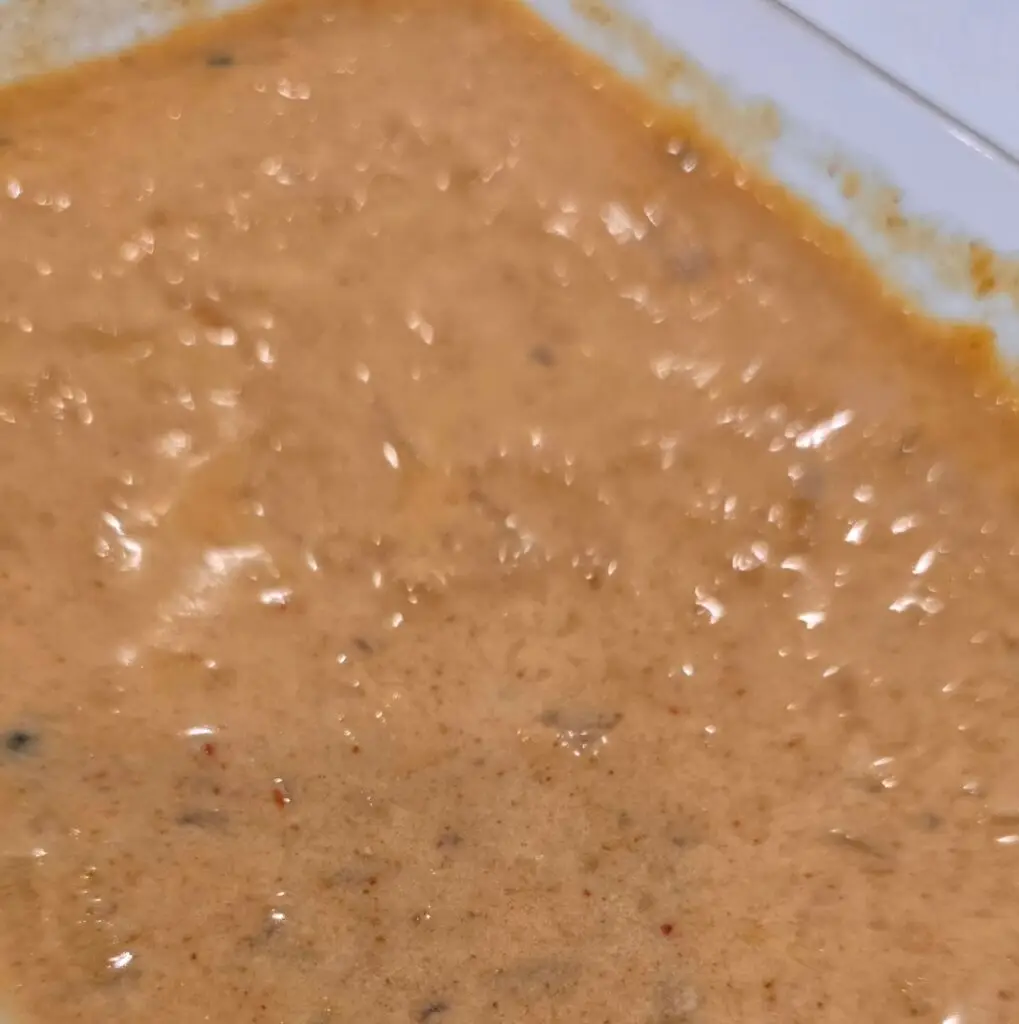
Chicken Korma. This smooth and fragrant sauce is perfect for chicken and fish. This is a low inflammatory version modified from the Ministry of Curry. Reserve 1 cup of goat, sheep or A2/A2 cow yogurt at room temperature. Start Instant Pot on Sauté and add; 1 tablespoon Ghee 4 whole green cardamom pods 4 cloves 12 black peppercorns 1 teaspoon cumin seeds Wait for full heat then add 1 large onion, chopped Cover and cook for 2 minutes Next add; 1 tablespoon grated fresh ginger 1 garlic clove grated (optional) 1 teaspoon turmeric 1 teaspoon Kashmiri chili powder 1 teaspoon ground cumin 2 teaspoons ground coriander Stir and allow to become fragrant, about 30-60 seconds Stir in 1-2 pounds of skinless chicken thighs in pieces or drumsticks (corn and soy free if possible) with 1/2 cup of water. *Note, the sauce can be made without the chicken with any meat added later. Turn off Instant Pot. Place and lock lid, pressure valve closed, Pressure cook on high for 8 minutes with 5 minute natural decompression then release. Temper the yogurt by adding teaspoons of hot sauce and mixing. Don’t add cold yogurt to the hot sauce until it’s brought up to temperature. Mix well and turn Sauté mode back on to thicken if desired.