
Mashed Sweet Potato and Yams
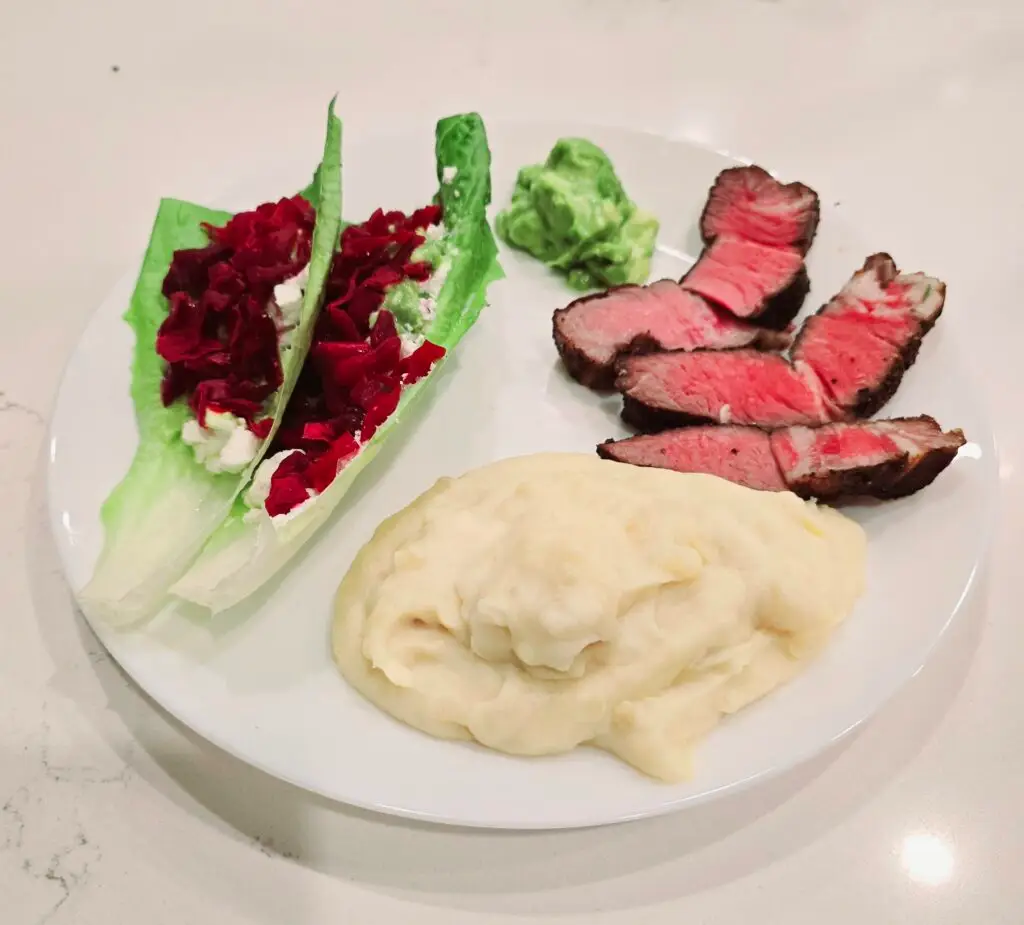
Recipe: Mashed sweet potato/yams Mashed sweet potatoes are a fantastic way to fun-up your meals while keeping inflammation low and nutrition high. Avoid the lectins found in traditional potatoes and switch to the family of sweet potatoes and yams. Purple, red, orange, Japanese, and white are commonly found and organic versions often available too. Read to the bottom for the carbohydrate trick to make them more resistant, lower calorie and more nutritious! Start with 2-3 lb (1-1.5kg) of any type of sweet potato. Peel, slice into random size cubes. It is better to be random for the pressure cooker so that the hot steam can penetrate all the pieces. Rinse and place in the cooker with 1-2 cups water. Pressure cook for 16 minutes on high. Remove to a bowl and mash with a spatula. A masher should not be needed if cooked long enough. Add one full container of sheep, goat or A2/A2 cow yogurt. The sheep yogurt is the most tart and gives a sour cream like flavor. The goat yogurt is in between tartness and the cow yogurt is the creamiest. Japanese yam with A2/A2 cow yogurt is the closest to standard mashed potatoes and will fool most everyone. For even better nutrition, refrigerate overnight and reheat from cold over the next few days. This chemical conversion reduces the starch and increases the fiber just by changing the temperature. These easily last a week in the refrigerator. The refrigerate/reheat trick works with all the starches like potatoes and rice and will convert the starch to a more resistant form that feeds the microbiome and reduces glycemic response.
Fermented Vegetables – Krauts and Kimchi
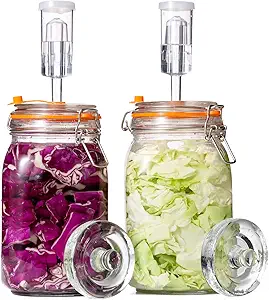
Fermented Vegetables, A.K.A. sauerkraut, kimchi Please don’t leave! You might think you don’t like fermented vegetables, like sauerkraut or kimchi, but wait! The mass-produced restaurant and store brands are nothing like the homemade version I can show you. I never thought I liked fermented vegetables either, but then I saw a YouTube video on how to make sauerkraut and realized how easy it is. Once I tried it, I couldn’t believe how flavorful and fun these foods are to eat. In addition, they have incredible health benefits. Fermentation eliminates most inflammatory lectins while adding K2 and other vitamins, as well as enhanced flavors. Please give fermented vegetables a try before passing them off as unworthy. Basic sauerkraut. Any combination works, and the photo shows a more exotic combination: purple cabbage, carrots, bok choy, celery, and cauliflower. For your first batch, I recommend using green cabbage. The amount you need depends on the size of your container. A one-liter fermentation jar uses about one kilogram of chopped cabbage. I know, I know—the metric system. Sorry, folks, but for these recipes, you really want to use the metric system. It will make more sense later. A 1.5-liter jar uses 1.5 kg of cabbage (or total vegetables). See how easy it is? In ounces, a 34-oz. jar uses 2 lb. 3 oz. of chopped vegetables. Stick with the metric system here. Next is the salt, which should be about 2% by weight. This does not have to be exact. In metric, this is also very easy. For every 1000 grams (1 kg) of chopped vegetables, you need 20 grams of salt. Weigh your vegetables and multiply by 0.02 to find the amount of salt needed. It does not need to be exact, and up to 3% is fine. I like to use iodized Aegean Sea salt. Don’t use salt with a high potassium or magnesium content, as this will allow the wrong bacteria to grow. I found this out the hard way. Now, get your grip workout in by mixing and crushing the vegetables by hand with the salt. If you want to add a tablespoon of dill or other herbs, do so now. Keep squeezing and mixing the vegetables and salt until they start to wilt and become wet. Scoop all of the ingredients, including the liquid, into a fermentation jar. Using a wide-mouth funnel or kitchen tongs. A wooden “sauerkraut pounder” is nice for packing it down tight. Leave at least two inches of space at the top of the jar. Cut a large cabbage leaf into a circle and place it on top of the chopped cabbage to keep the small pieces from floating up. Then, add the weight that comes with the fermentation kit, if you bought one. If the top is dry, make a small amount of brine to top it off. Do not use plain water. Using a coffee scale, add 2 grams of salt for every 100 grams of water and Mix well, then use this mixture to ensure all the vegetables are submerged in liquid. Label the jar with the date and any special treatments, such as herbs. Then, place the airlock on top. Fill the airlock with regular water. Only fill it halfway. That’s it! Leave it alone for 7–14 days. You will see bubbles starting on day one, and the colors will change dramatically if you use colored vegetables such as radicchio or red cabbage. Note that radicchio requires three weeks of fermentation to reduce the bitterness. Some of my favorite combinations are listed below. Feel free to take a taste anytime to check on the progress and see if it has reached your preferred level. When you’re ready to eat, remove the airlock, close the hole, and put it in the refrigerator overnight. The next day, empty the contents into a container and let it gas off for a couple of hours. Sulfur-producing bacteria create some of the amazing compounds. The finished sauerkraut will last for weeks in the refrigerator, but it will likely be eaten long before then. Check out the equipment page to find the jars, funnels, and pounders to make your own amazing fermented vegetables! Some favorite combinations: Two heads of radicchio and bok choy stems (the leaves are great for salads) fermented for two to three weeks create an amazing wine-like flavor with a slightly bitter, crunchy bite. Taste of Thai: Green Cabbage: 1 large head Green Onions: 1 or 2 bunches, including the whites and roots Fresh Ginger: 3 or 4 thin slices Go easy on the ginger, as it becomes very powerful when fermented. This fermented food is crunchy, tangy, and zippy.
Sous Vide and Grill/Smoke Beef Chuck Roast
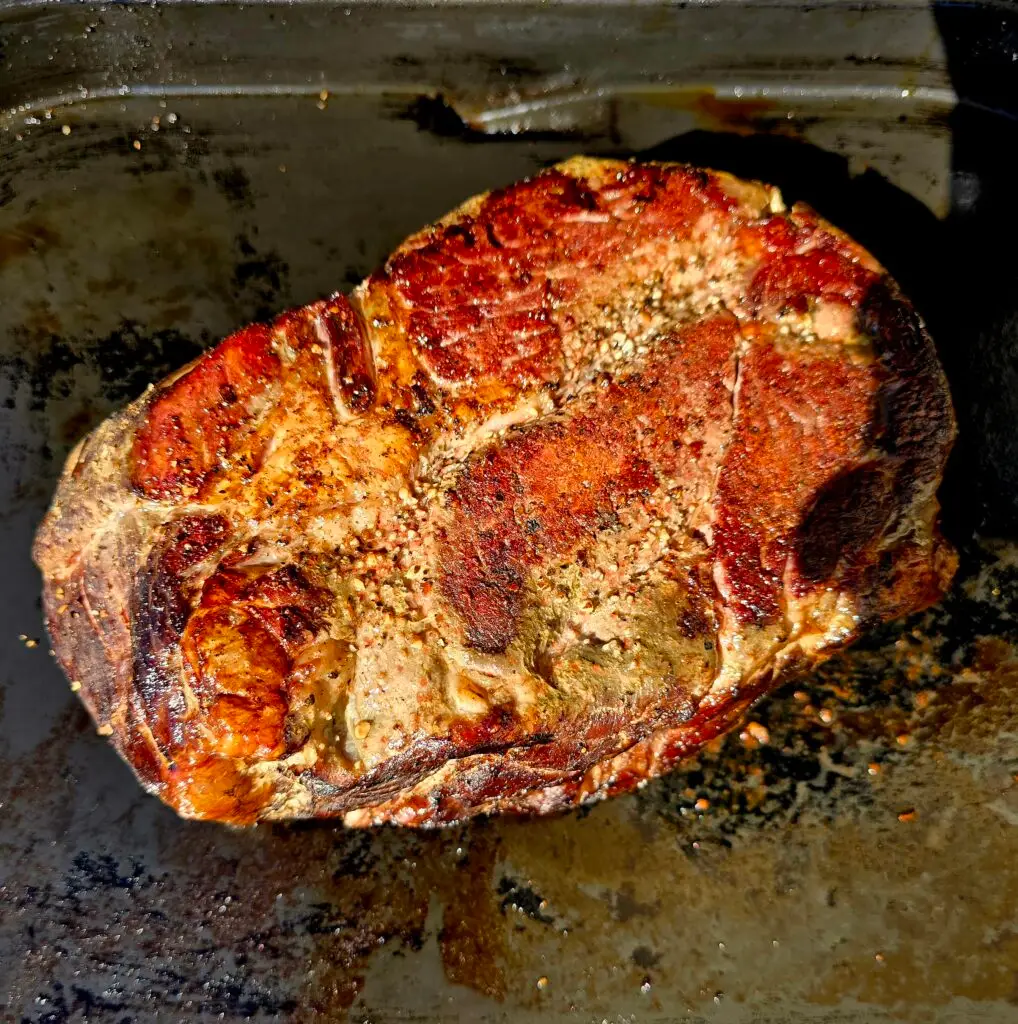
Recipe: Sous Vide and Grill/Smoke Beef chuck roast This cut has amazing flavor and texture in addition to being budget friendly, but requires the long cooking time of sous vide to get to that texture. Grass-fed/grass-finished chuck roast is often priced well. If you can’t find grass-fed then pasture raised is an alternative although they are usually fed corn the last two weeks. It’s still better than standard corn-fed beef. This is a great cut for a big family. I like to buy a 2-3lb (1-1.5 Kg) roast and then slice into thick medallion steaks, usually about 1.5 inch (4cm) thick, or leave it whole for a feast. Vacuum seal and freeze and then cook sous vide straight from the freezer. The cook time is 24 hours, so it does not matter if you start fresh or frozen and the thickness is not an issue either. Place the sous vide device and the meat into the sous vide container. Fill to cover with water at least 2 inches (5 cm) above to account for evaporation. I highly recommend 136 deg F (58 ºC) for medium-rare. Chuck roast cooked at this temp/time combination has a taste and texture more like a ribeye and is bursting with beef flavor. Start the sous vide 136 deg, 24-hour cook. Cover and check on the water level before you go to sleep. Depending on your climate you might have to add more water if there is too much evaporation. Just add water as needed, the sous vide device will quickly regain the correct temperature. When done, remove from bag and discard the liquid. Place on a wire cooling rack inside a pan. It won’t look good at this stage. Don’t worry. Dry brine with coarse salt, black pepper and place uncovered in the refrigerator overnight. The next day finish on a hot grill for 10 minutes with a flip at 5 minutes, or air fry 10 minutes on high, or if you have a smoker then 20-30 minutes on 325 creates a wonderful smoky crust. The thicker the chuck the longer the smoke. For two inch start at 20 minutes and go to 30 minutes for 3 inch thick cut. Let it rest for 5 to10 minutes and enjoy.
Yucca frita – Finishing your Yucca Fries
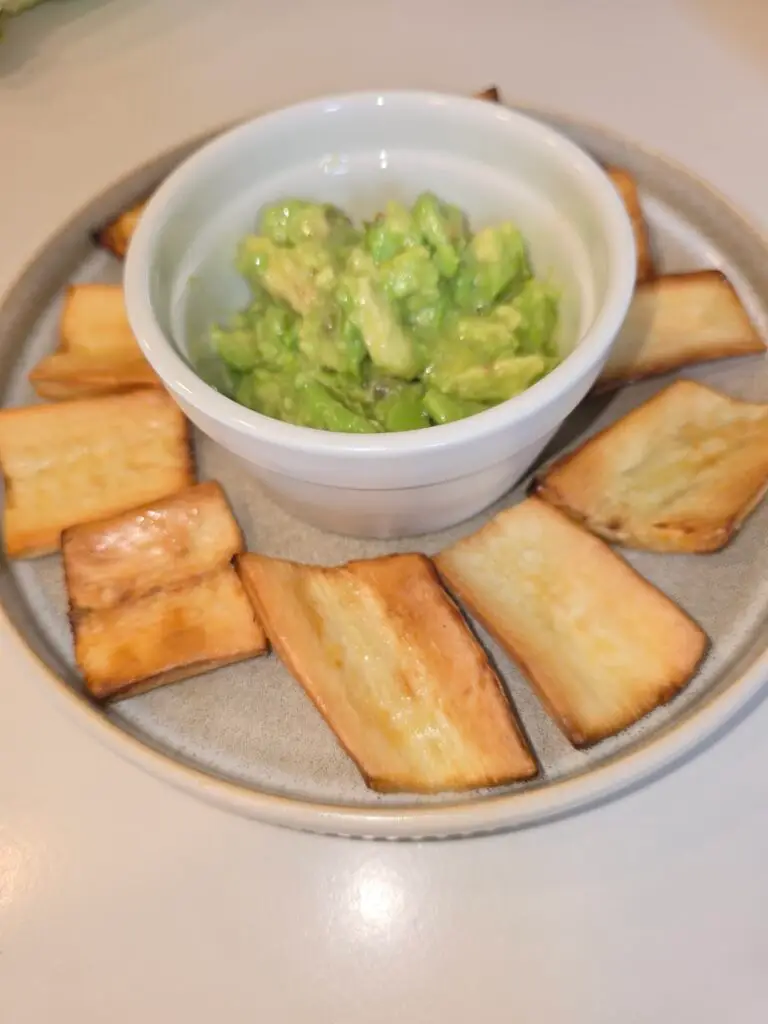
If you don’t have prepped yucca, name, taro or malanga root chips/fries then go back to Part I. Delicious, crunchy chips with fiber and nutrition? Here they are! You did the hard work of preparing the raw yucca root, and now you have bags of frozen chips in your freezer. Take out a portion, place it in on parchment in the air fryer basket. Douse it with olive oil or see the beef tallow modification below. Power up your air fryer to 450°, then add your chips and cook for 14 – 16 minutes. That’s it! They’ll be crunchy on the outside and soft on the inside, just like proper Belgian-style “pommes frites.” If you have a smaller air fryer, like the Ninja Crispi, then try this alternate method. Spread some beef tallow on the fries and air fry on High for 10 minutes. Flip them over, spread some Ghee on them with a little salt and air fry on high for another ten minutes. Then drizzle with fresh olive oil and more salt. I like to combine with a fresh guacamole as shown above taking advantage of the oil/salt already in the bowl, I start by putting oil and salt on the yucca in a bowl, then transfer the yucca to the airfry pan and put them in the preheated air fryer. Using the same bowl, add the avocado and other ingredients for guacamole while the yucca is cooking. I’ll often add more olive oil to the guacamole for extra creamy nutrition. Guacamole recipe here. For a bonus, Name root, malanga root and large Elephant Taro root are all made safe to eat with pressure cooking, and then frozen and cooked exactly the same as yucca. They do have a different texture and flavor and don’t get as crunchy as the yucca. If you see them in the store give them a try. All types of fries (Yucca, Malanga, Name, Taro) can be seasoned with Dr. Dan’s favorite spice blends from RA Signature Seasonings.